Edit Your Translations Easily with ConveyThis
- Translations List
- Visual Editor
- Glossary
- Assign translations to a Team Member
1) Translations List
a) Go to your Translations List.
Please note that if you do not have any translations, you will need to visit your web pages in the translated language for ConveyThis to generate the translations.
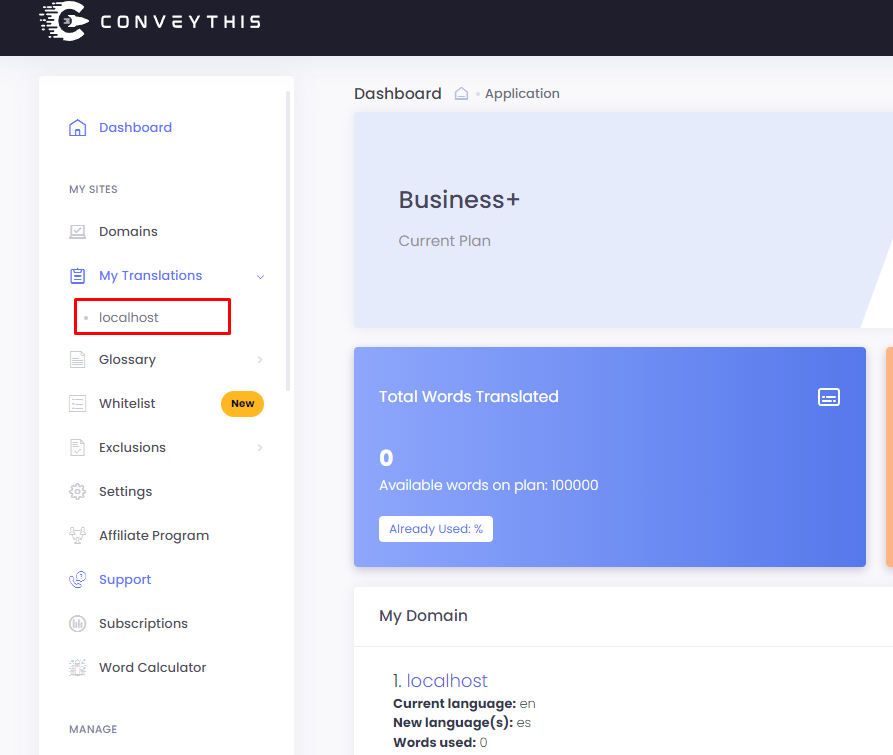
b) Select a text editor in the language you want to change.
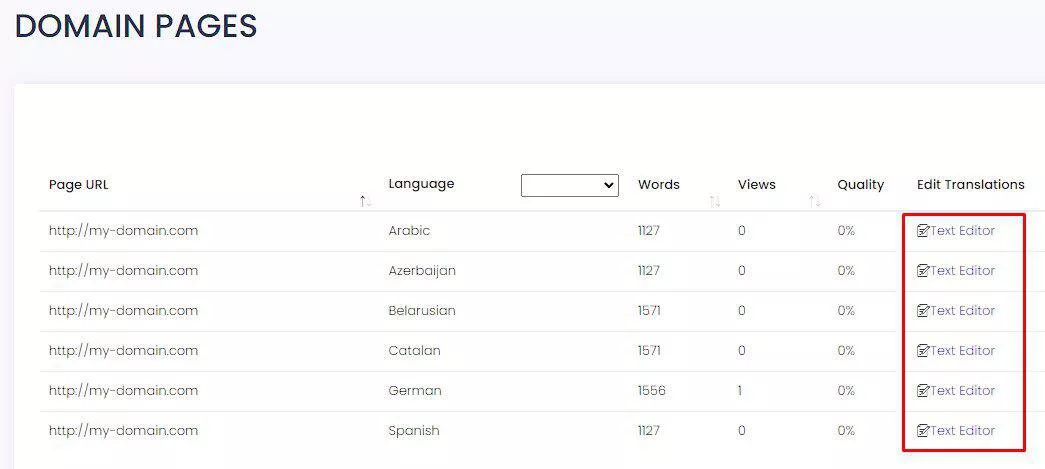
c) Edit your translation.
You can make changes to your translation by clicking on the right input field and change to the desired translation. All changes are automatically saved and will be displayed on your site with a “Translation Updated” notification.
There are couple tools to easily navigate within your list.
- Search bar to search for specific translations
- Sort by Translation
- Last Update and other filters to sort your translations
When your edits are done, go to your website, and refresh it, you should see your edited translations.

2) Visual Editor
You can go to the Visual editor in your translation lists.
To edit a translation, click on the blue pencil. A box will pop out, and you will be able to change the translations. Once done, you will read the following message “Translation saved.”
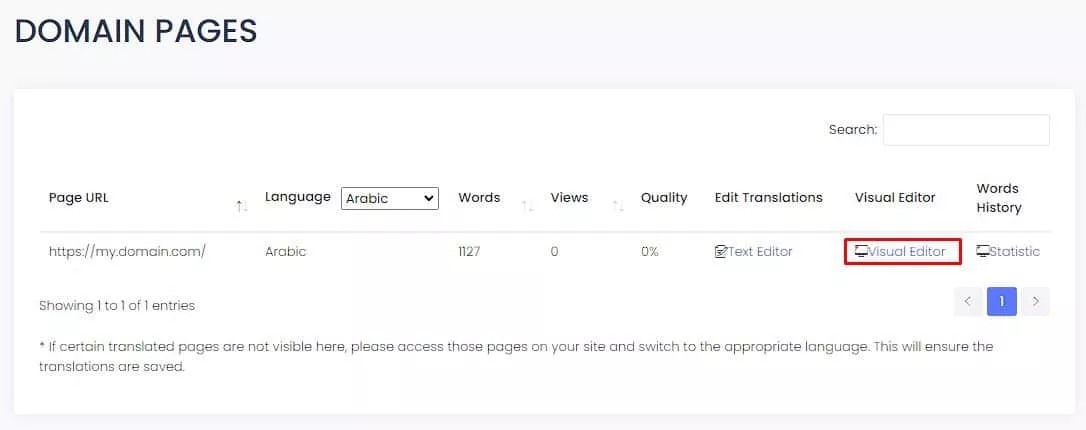

Using the visual editor, you have the option to navigate to specific pages using a button “Browsing” and navigate to your site ease.
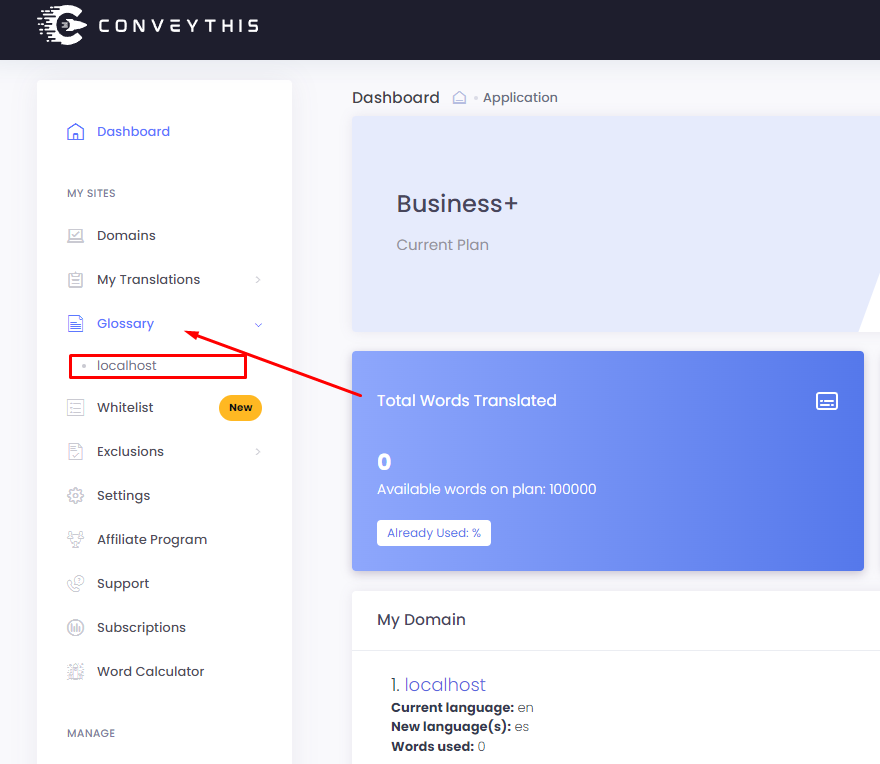
3) The Glossary
From your ConveyThis Dashboard, you also have access to the Glossary:
Apply never translate or always translate rules: set rules to always/never translate the original content in a specific way in the destination language
