
Shopify Интеграция
Интеграция ConveyThis в любой веб-сайт невероятно проста, и платформа Shopify не является исключением. Просто следуйте нашему простому пошаговому руководству, чтобы добавить ConveyThis на свой сайт Shopify всего за несколько минут.
1) Создайте учетную запись ConveyThis
Для начала панель управления вашей учетной записью ConveyThis позволяет просматривать и управлять всеми вашими переводами. Просто создайте учетную запись ConveyThis здесь.

2) Выберите свой плагин через ConveyThis
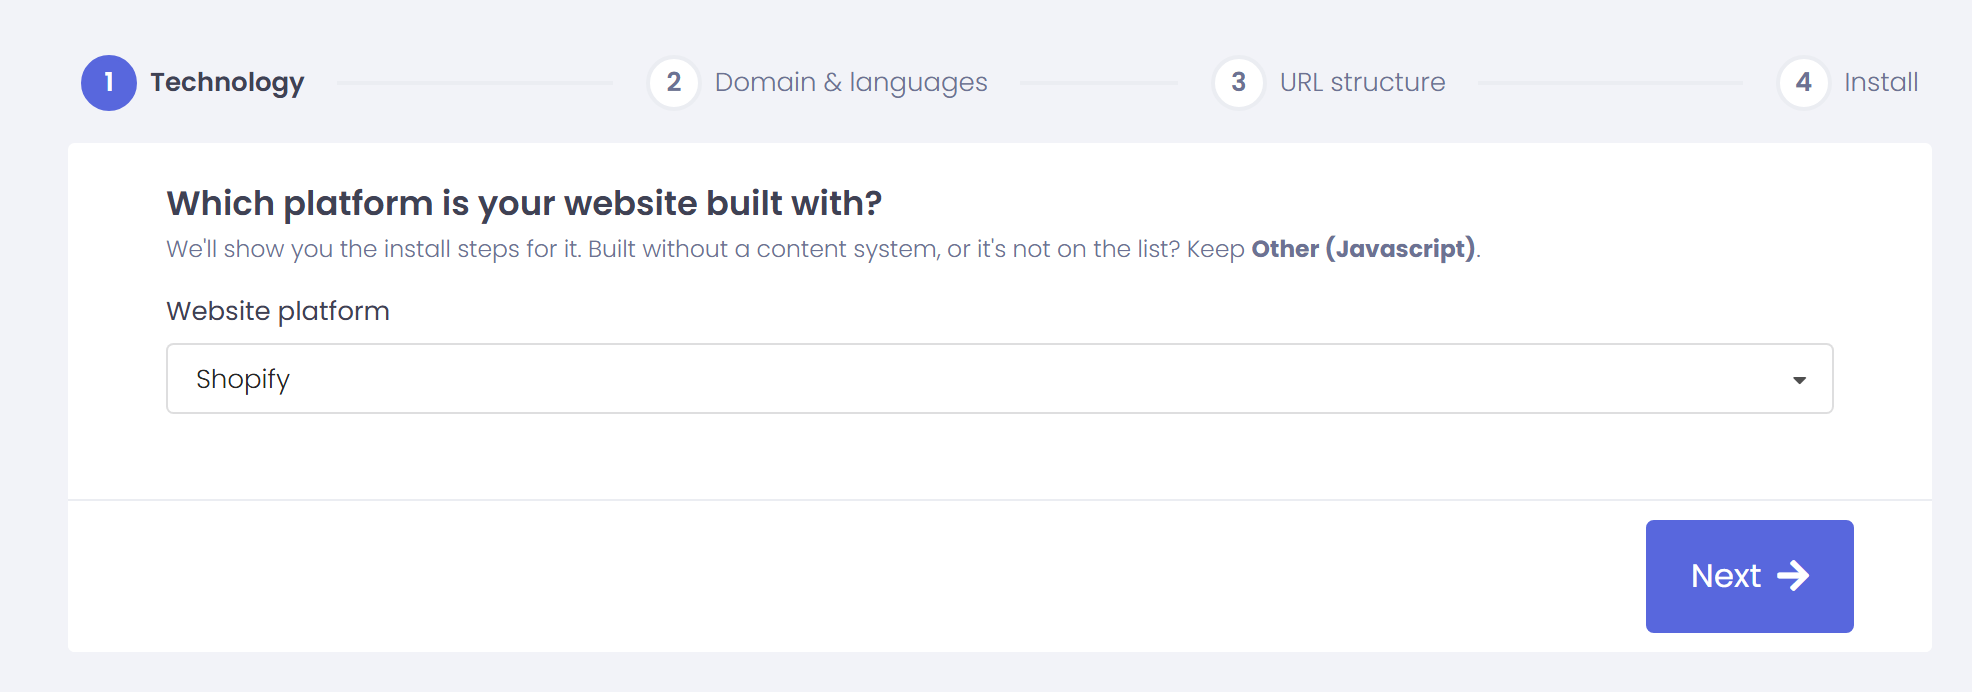
Технология веб-сайта относится к конкретной CMS, которую вы использовали для создания своего веб-сайта, в данном случае это Shopify.
Нажмите “Далее”, чтобы перейти к следующему шагу.
После нажатия на “Далее” введите свое доменное имя и укажите язык (языки), на который вы хотите перевести свой веб-сайт.
Нажмите “Далее”, чтобы перейти к следующему шагу.
3) Установите плагин ConveyThis через Shopify App Store
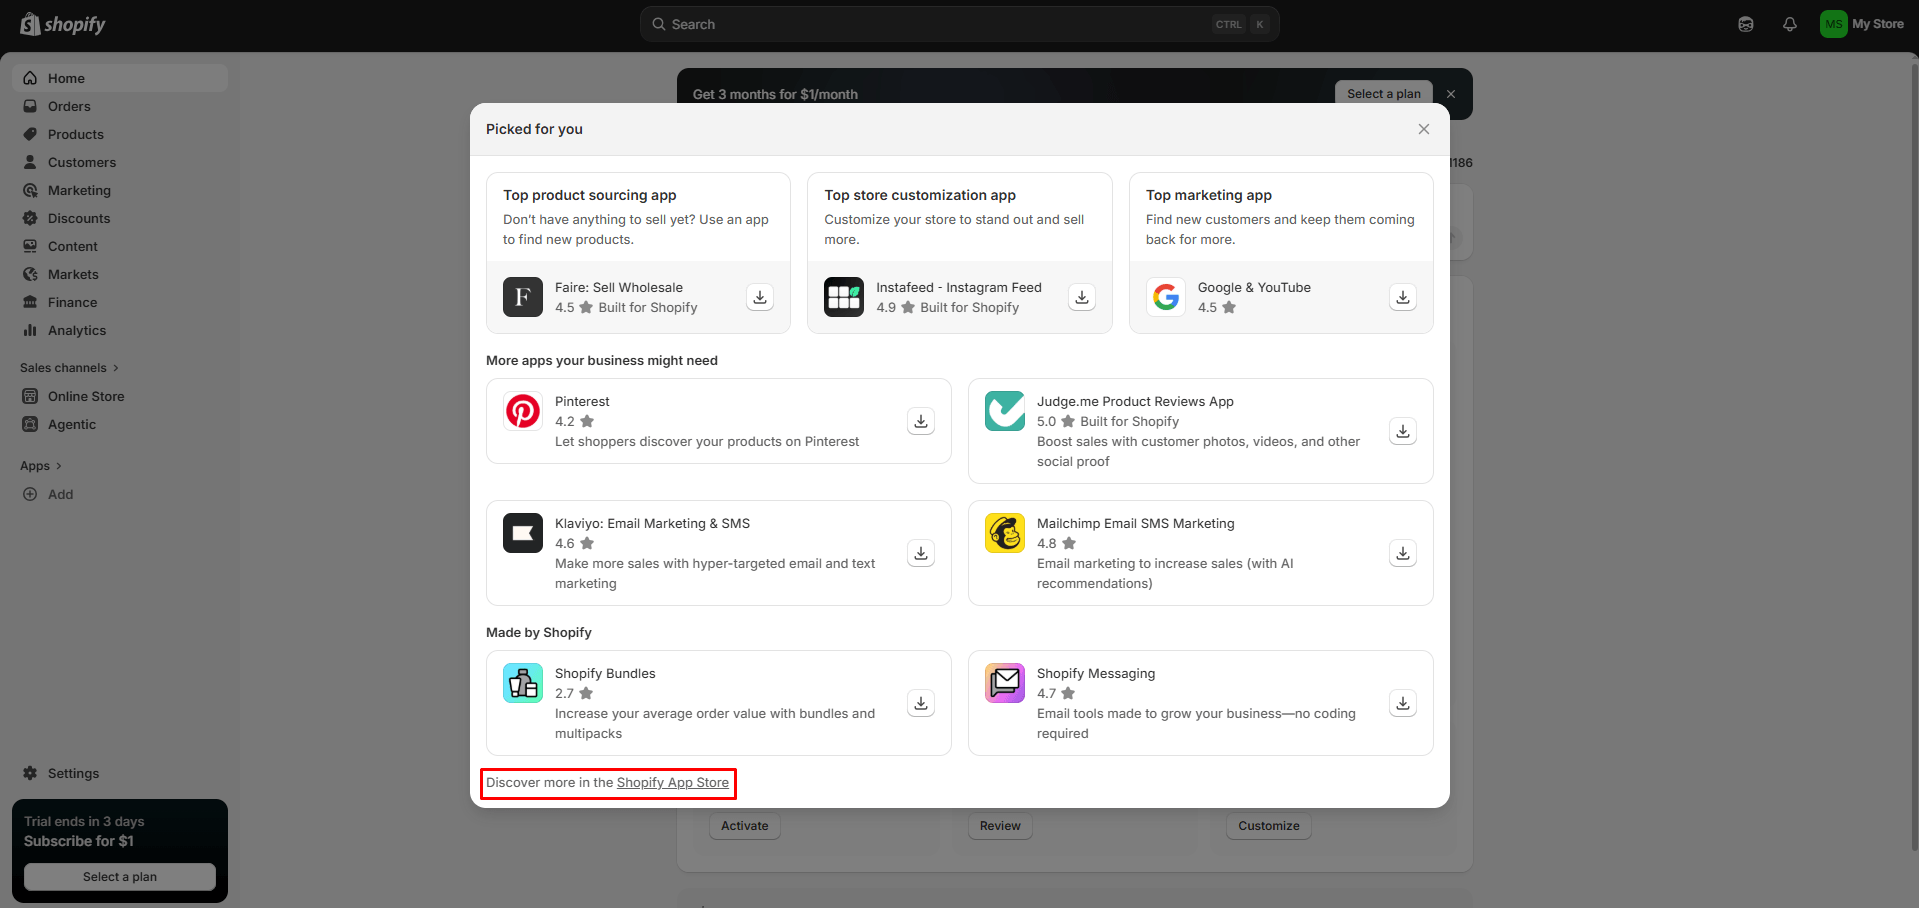
Перейдите на панель администратора и нажмите “Приложения” > “Добавить” > “Узнайте больше в Shopify App Store”
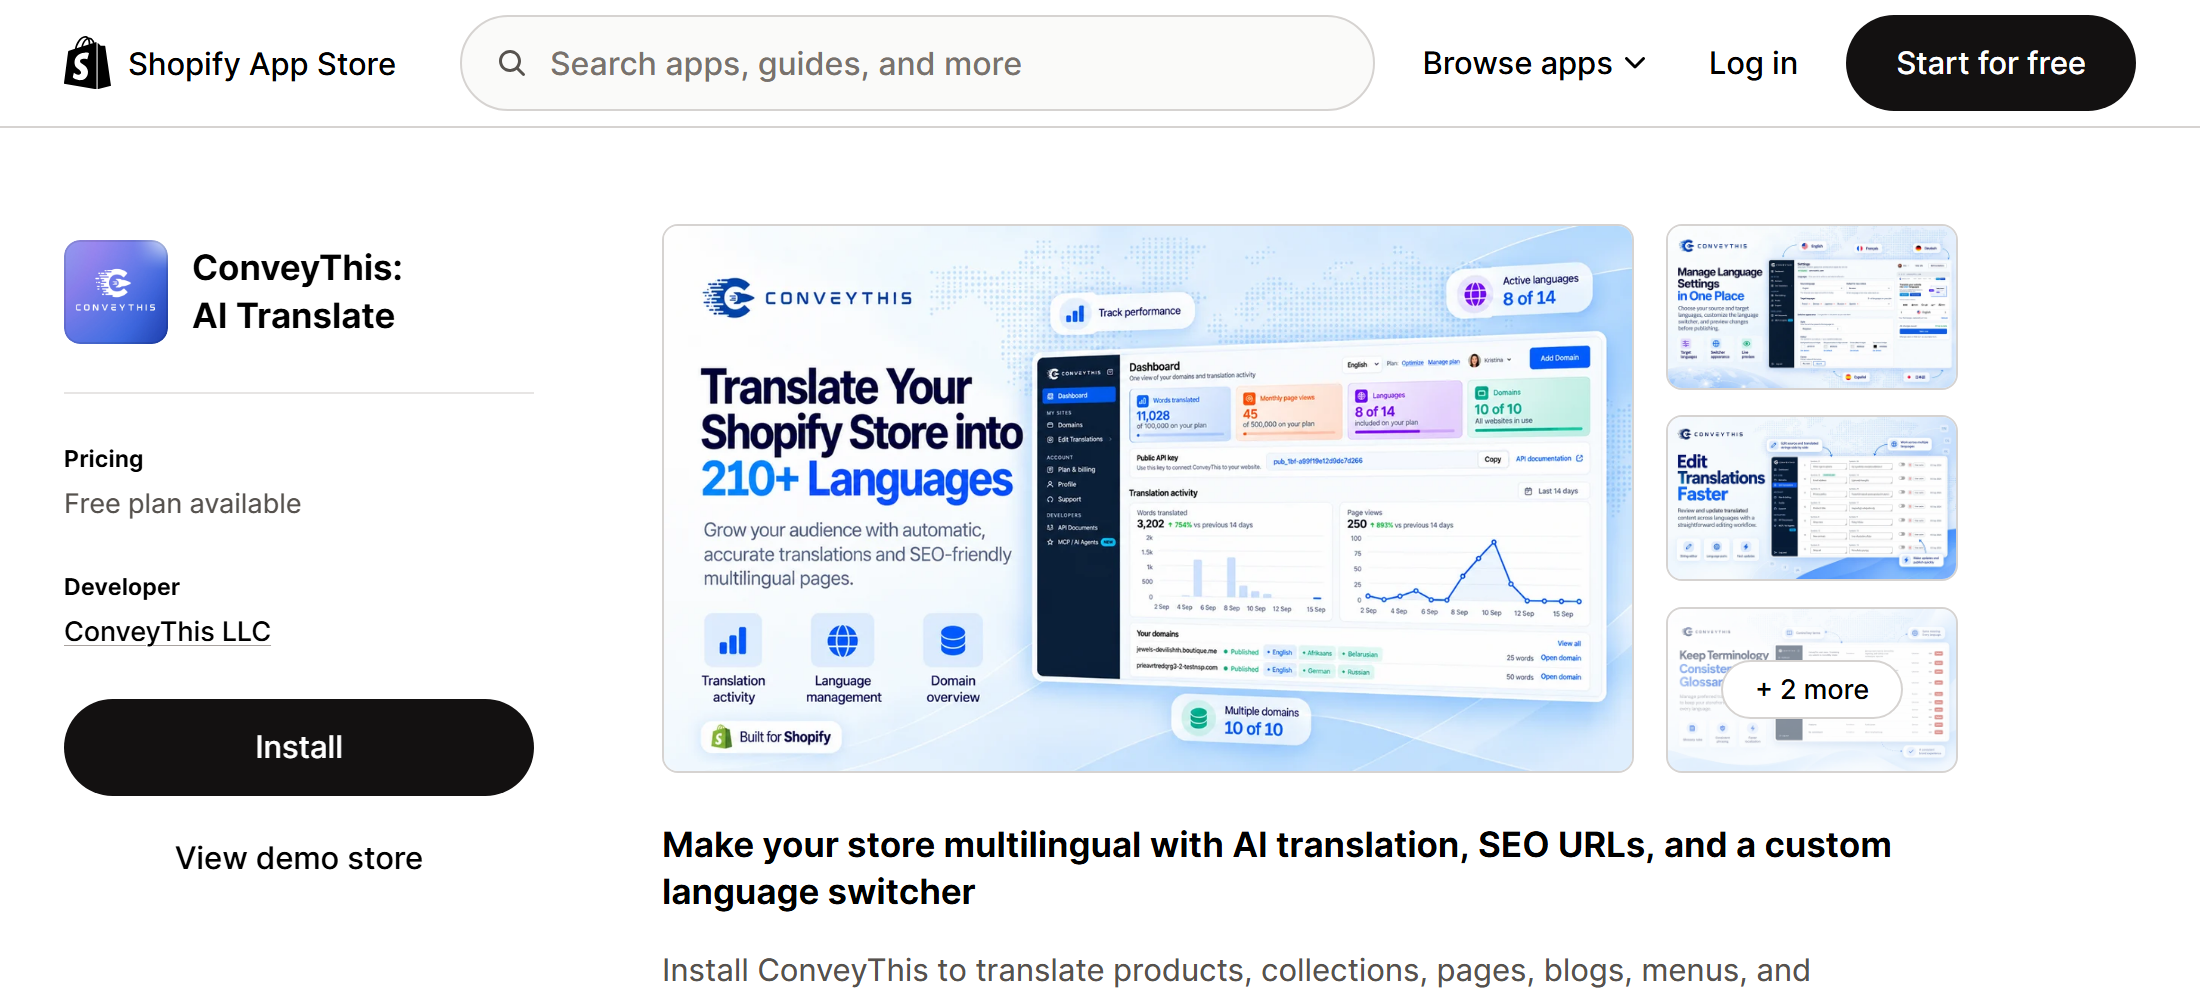
Искать ConveyThis, и как только вы нас найдете, нажмите “Установить”.
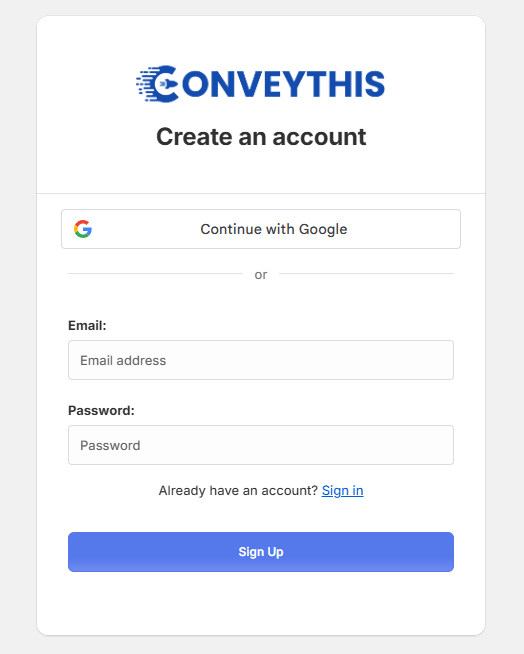
3.1) Создайте свою учетную запись через приложение Shopify или войдите в существующую учетную запись ConveyThis
Если у вас уже есть существующая учетная запись ConveyThis, вы сможете напрямую создать новый проект или повторно использовать существующий проект при необходимости.
Если у вас нет учетной записи, все, что вам нужно, это ввести действительный адрес электронной почты и пароль, чтобы начать работу Бесплатный план (10 000 слов, один язык).
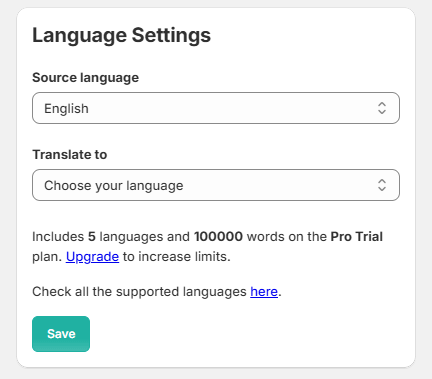
3.2) Выберите свои языки
После настройки учетной записи ConveyThis вам будет предложено выбрать язык, на котором в данный момент написан ваш магазин, а также язык(и), на который вы хотите его перевести.
3.3) Активировать ConveyThis Плагин
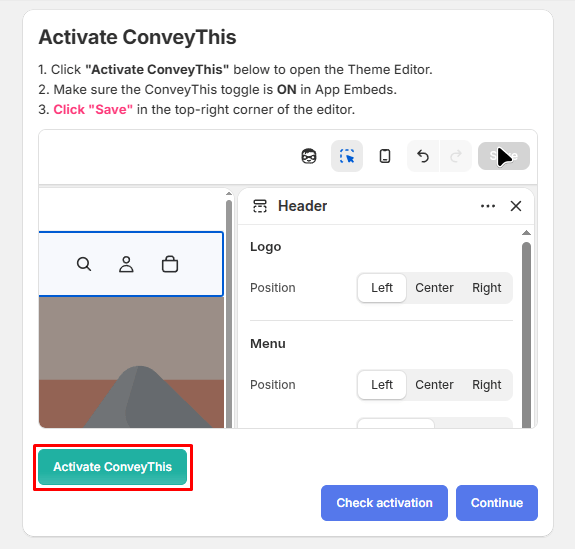
После определения языков вам необходимо активировать ConveyThis в вашей теме. Для этого нажмите на “Активировать” кнопка.
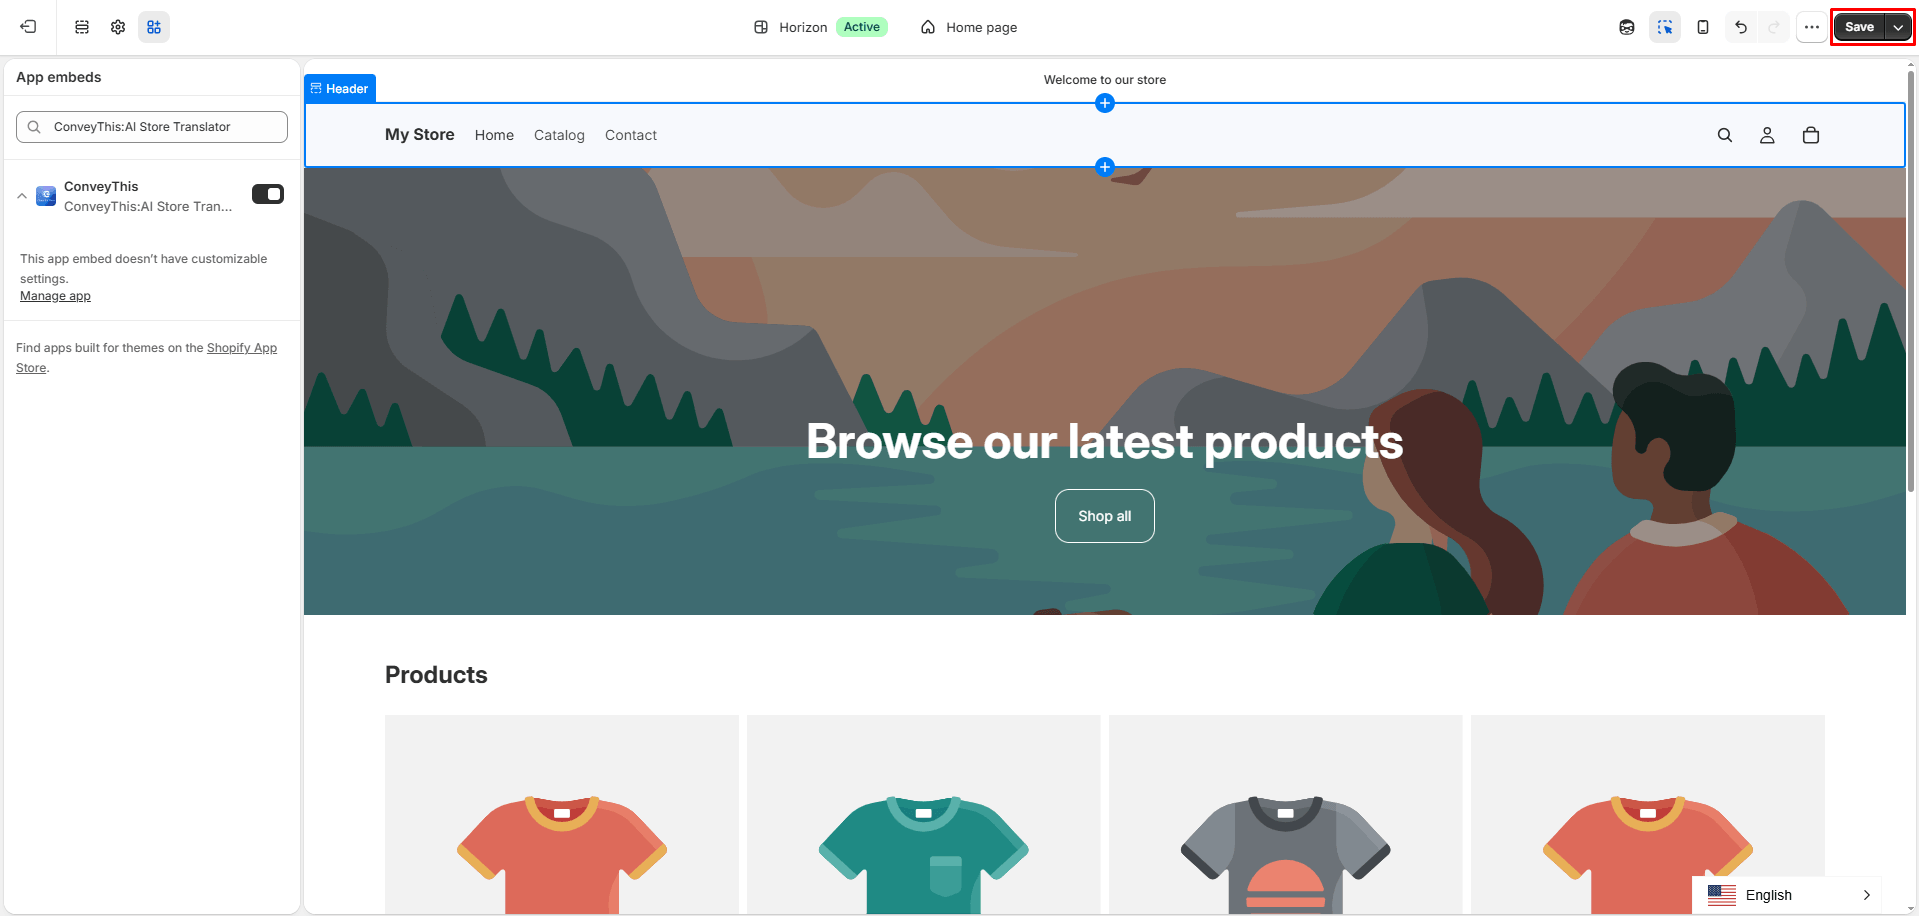
После чего вам нужно будет нажать “Сохранять” кнопка в правом верхнем углу редактора.
После сохранения вы можете вернуться на эту страницу и нажать “Проверить активацию” для завершения интеграции.
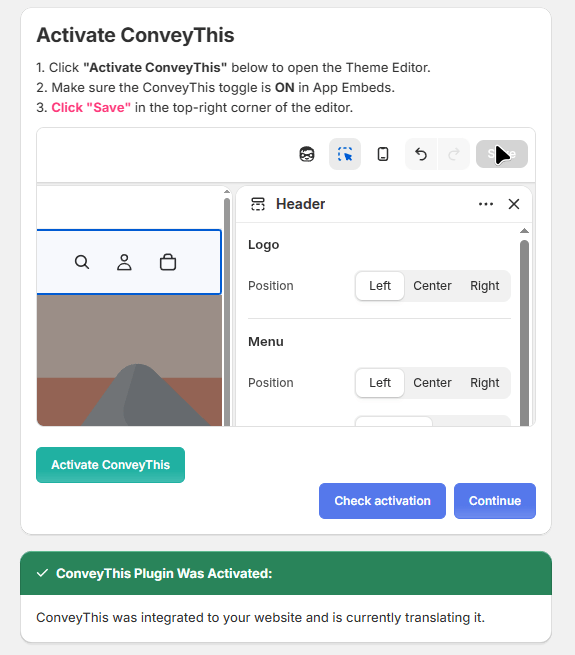
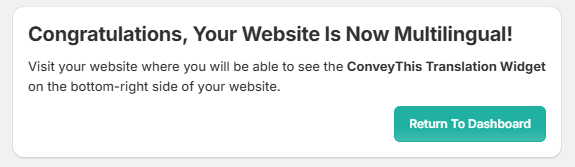
3.4) Вы стали многоязычными!
Теперь, когда в вашем магазине активирован плагин ConveyThis, вы можете начать настраивать переводы и/или внешний вид кнопки переключения языка, нажав “Вернуться на панель управления”.
4) Установите плагин ConveyThis с помощью копирования и вставки
Если вы хотите выбрать другой маршрут в процессе установки виджета ConveyThis, вы всегда можете попробовать Копировать и вставить наш фрагмент кода.
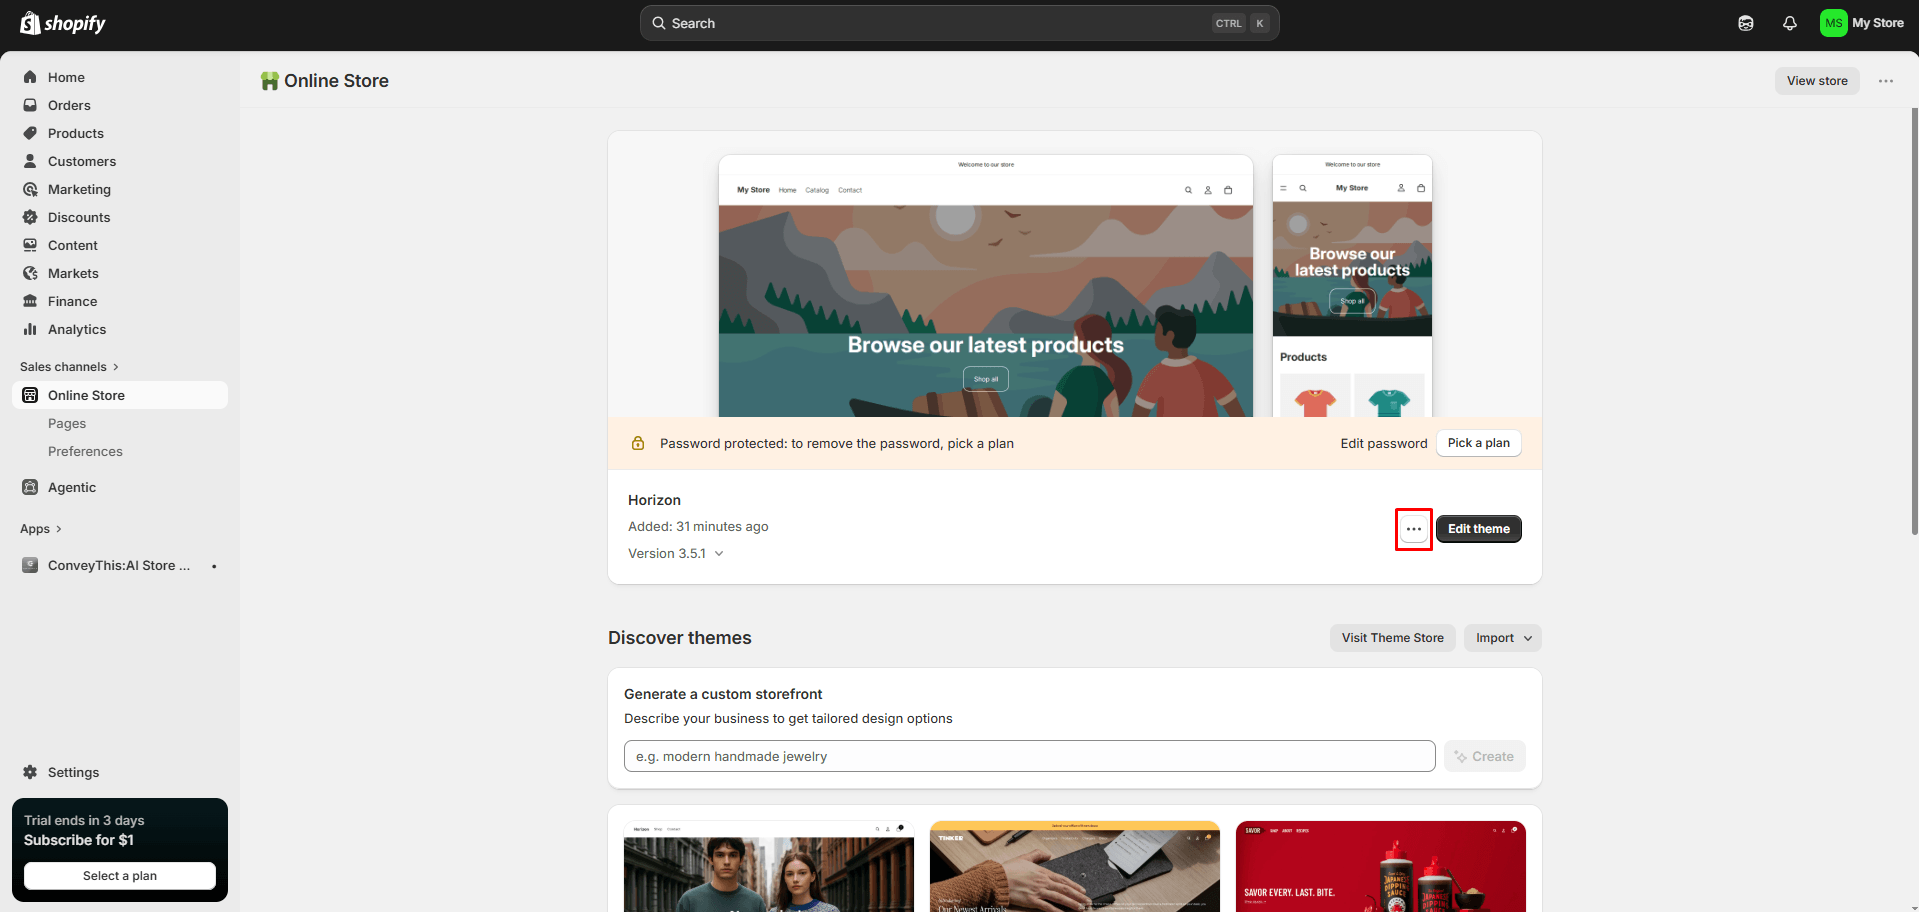
Сначала вам придется перейти к Shopify Администрирование > Интернет-магазин и здесь вы увидите “…” кнопка.
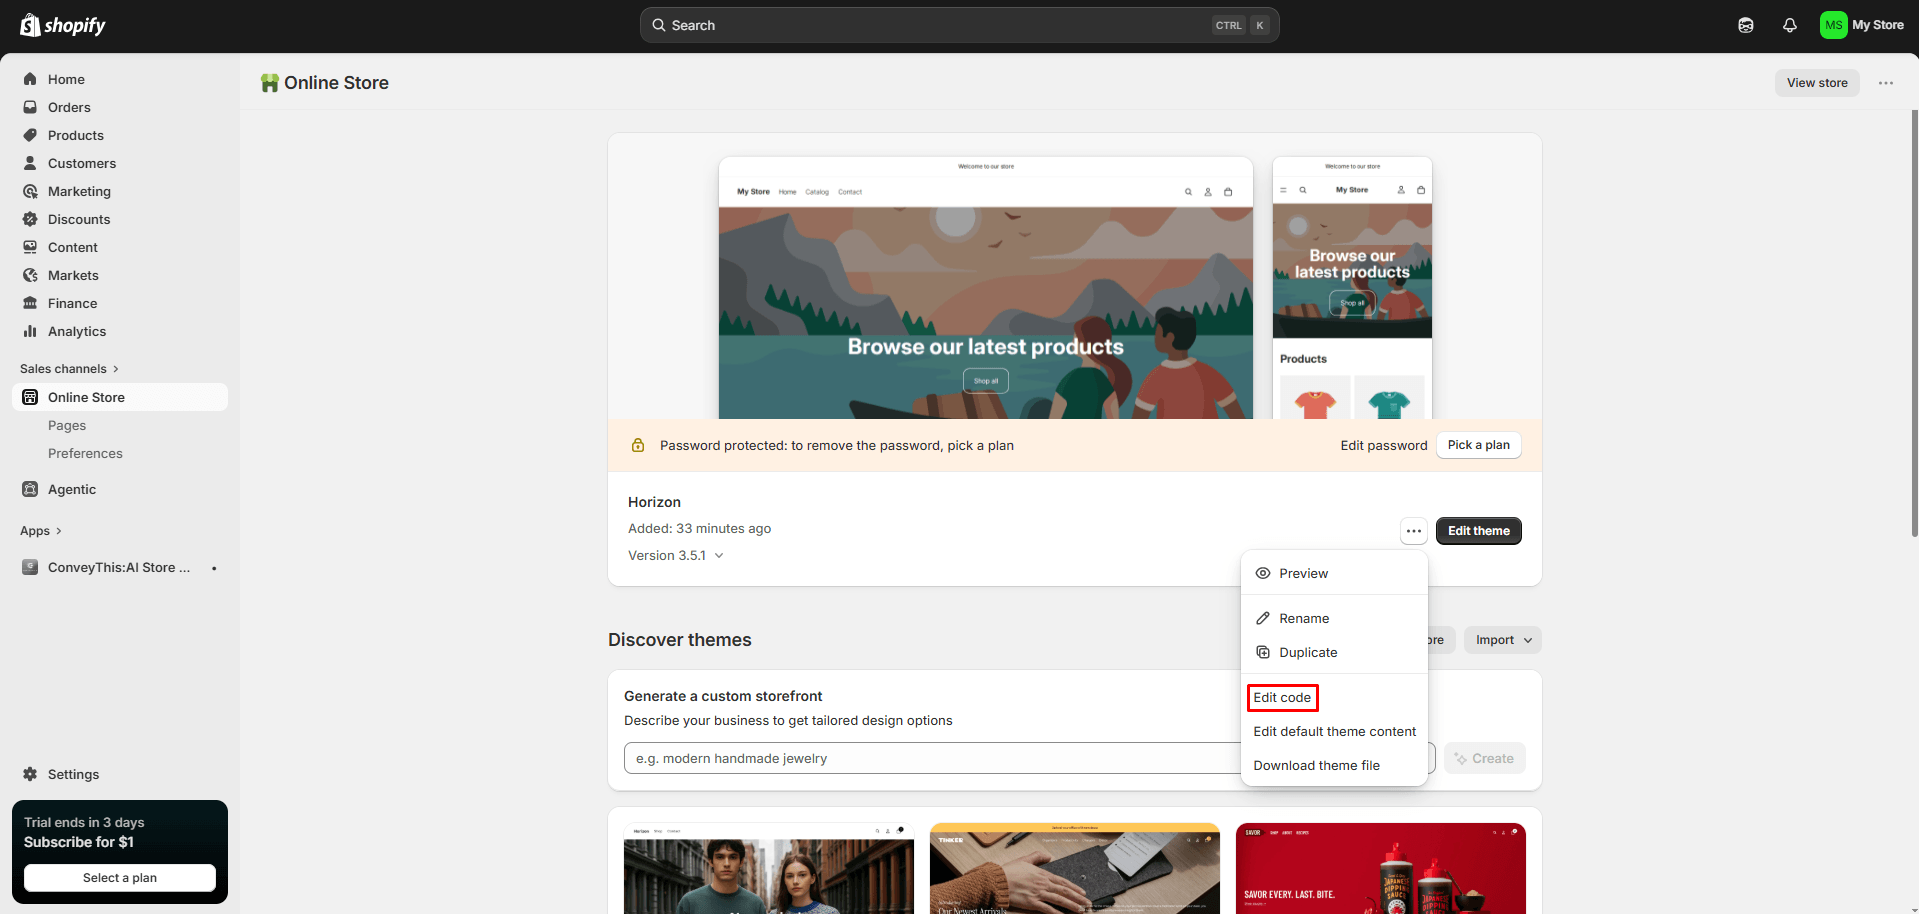
После нажатия кнопки “…” вы получите список опций и среди них выберите “Редактировать код” вариант.
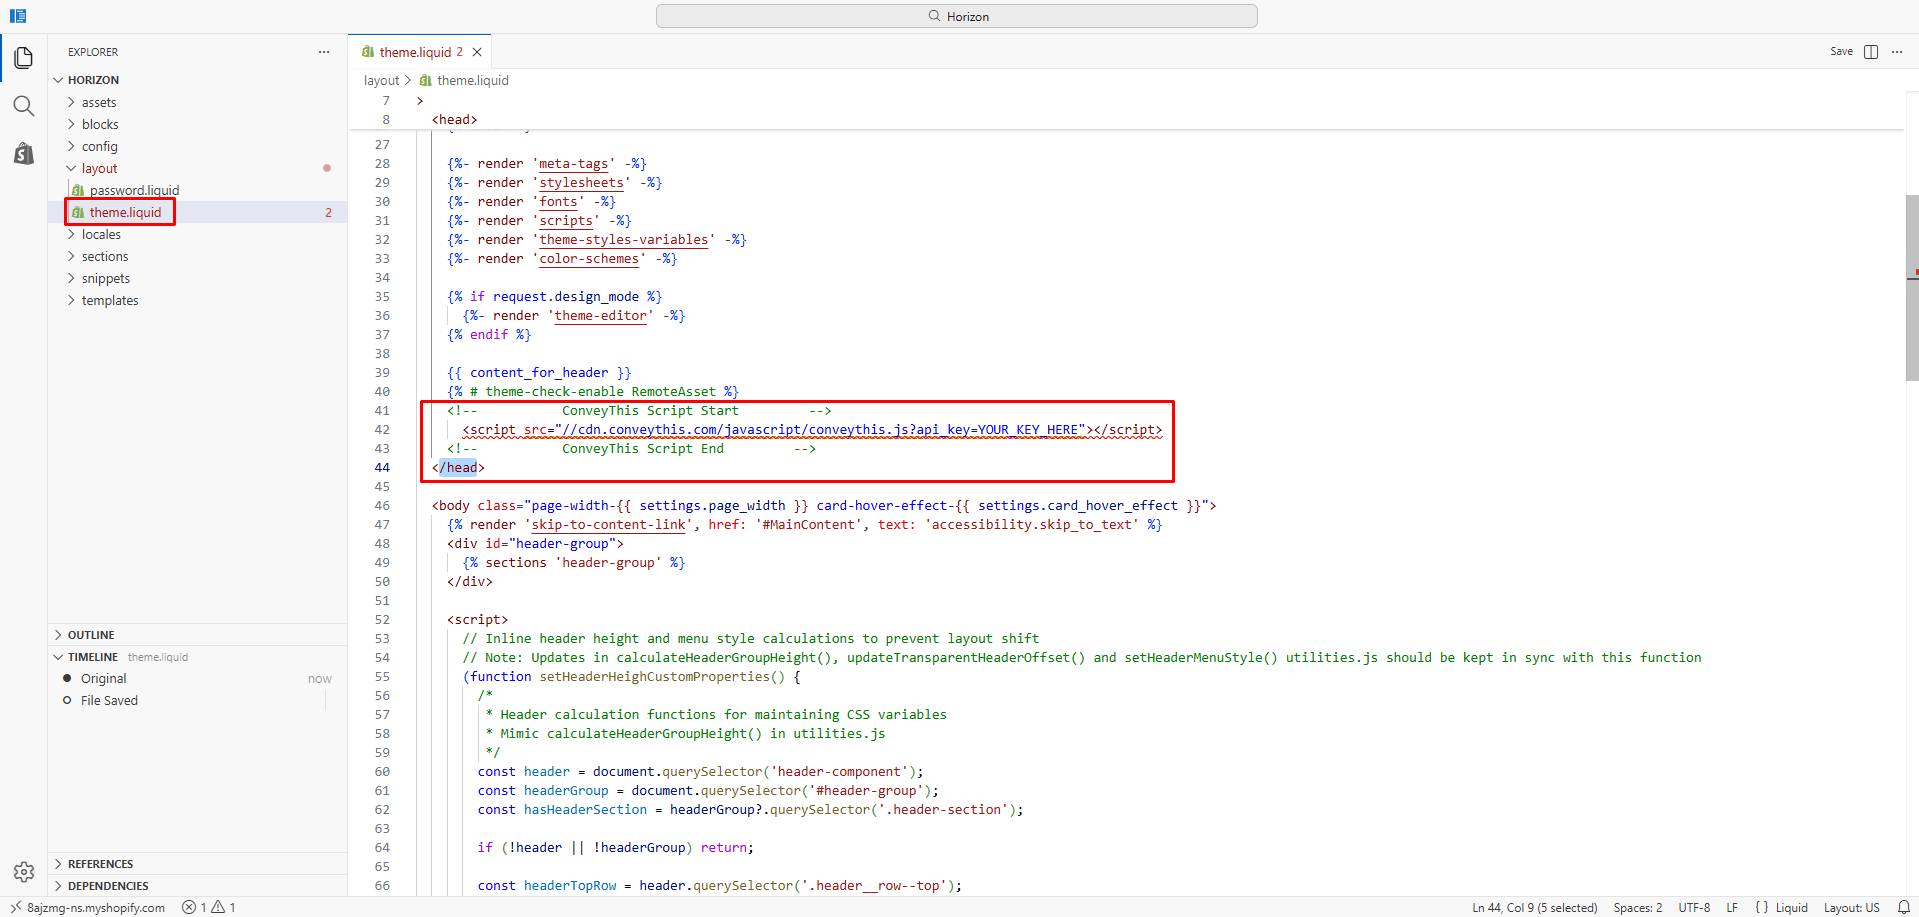
После перехода к “Редактировать код” вставьте предоставленный фрагмент кода в тема.жидкость файл, непосредственно перед закрытием </head> ярлык.
5) Все готово!
Вот и всё. Перейдите на свой сайт и увидите кнопку переключения языка в правом нижнем углу. Его появление может занять несколько минут, поэтому не волнуйтесь, если вам придется немного подождать.
Попробуйте изменить язык, когда появится переключатель языков–и, как по волшебству, ваш сайт станет многоязычным! Теперь вы можете перейти на панель управления ConveyThis, чтобы управлять всеми своими переводами.
Поздравляем, теперь вы можете приступить к переводу своего сайта!
*Если вы хотите настроить кнопку или ознакомиться с дополнительными настройками, перейдите в раздел «Настройка» на домашней странице нашего плагина».

Как перевести Shopify Страница оформления заказа?
Пожалуйста, посетите нашу справочную статью Shopify Перевести страницу оформления заказа для получения дополнительной информации.