
¿Cómo cambio la posición del selector de idioma?
You can place the language switcher in a corner of the screen or inside an element of your page, such as the menu.
How do I change the position?
- Ir a Dominios en tu ConveyThis panel de control, abre el Configuración Menú en tu sitio web y elige Configuración.
- Bajo Switcher appearance, find Posición.
- Elige Fixed corner and pick Top left, Top right, Bottom left o Bottom right. Use the Indenting sliders to move it away from the edge.
- Or choose Inside an element and enter the id of the element, without the # (for example menu, not #menu).
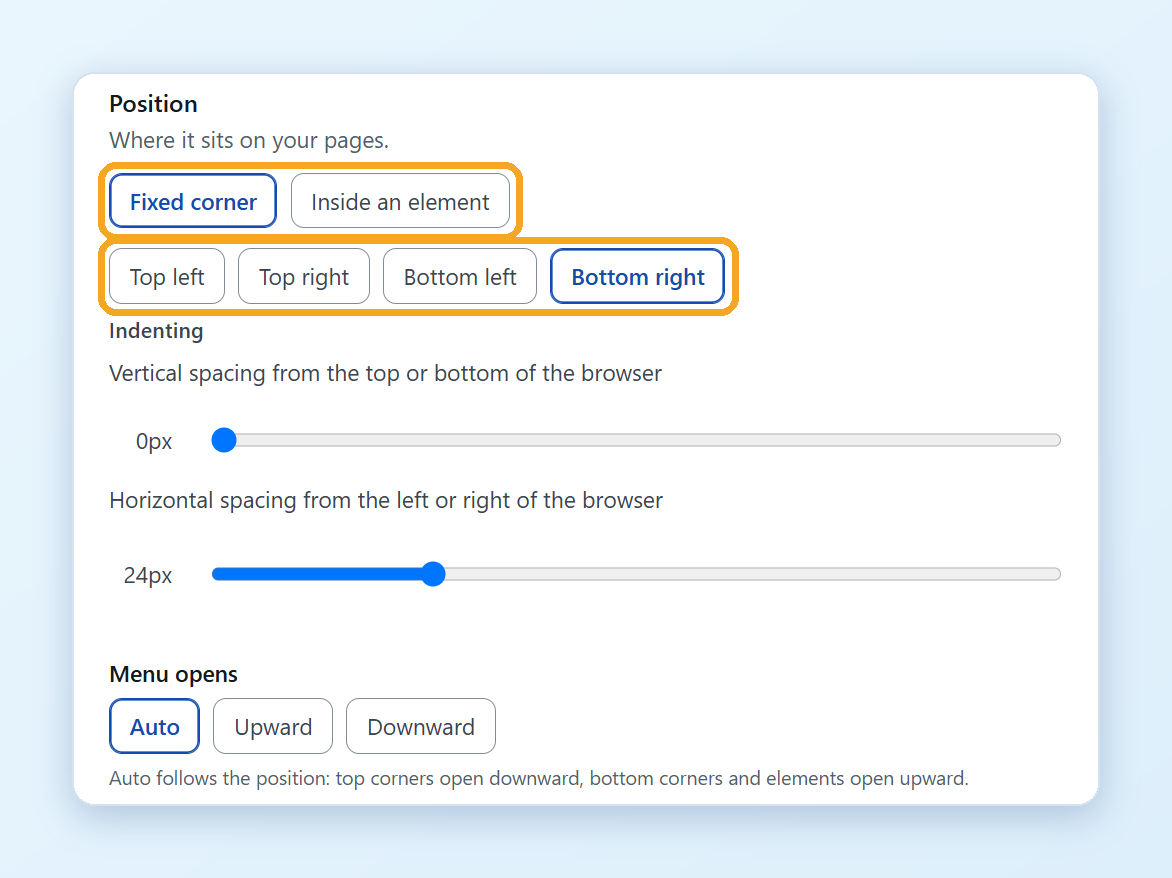
Your changes are saved automatically. If the element isn’t found on a page, the switcher uses the default position.
Menu opens sets whether the language list opens upward or downward. Auto opens it downward in the top corners and upward everywhere else.
WordPress
- In your WordPress admin, open ConveyThis in the menu and go to the Widget Style tab.
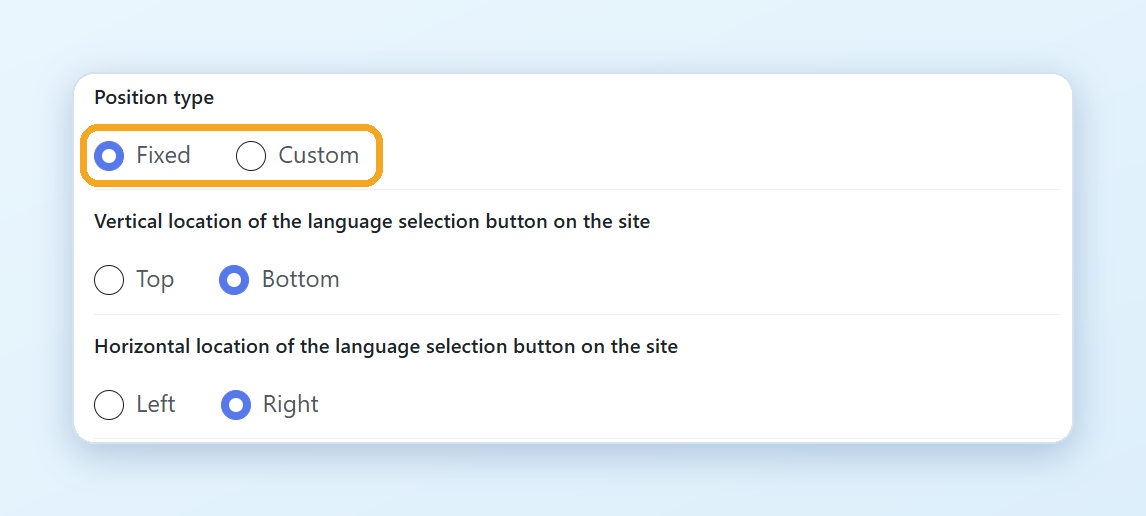
- Bajo Position type, choose:
- Fixed, then pick Top o Bottom y Left o Right, o
- Personalizado, then enter the id of the element and choose which way the menu opens.
- Haga clic Guardar configuración.
You can also place the switcher anywhere in your content with the shortcode [conveythis_switcher], or add the ConveyThis widget in Apariencia → Widgets.
How do I find the id of an element?
- On your website, right-click the place where you want the switcher and choose Inspect.
- Buscar id=”…” on the selected element. The text in the quotes is the id.
If the element has no id, add one in your website’s template or editor, for example <div id="language-switcher"></div>.