
Joomla Integration
Integrating ConveyThis into your site is fast and easy, and Joomla is no exception. In a few minutes you’ll install the ConveyThis extension, connect it to your free ConveyThis account and publish your first translated language, without writing any code.
Requirements: Joomla 4, 5 or 6 and PHP 8.1 or newer. Joomla 3 is not supported.
1) Install the ConveyThis extension
In your Joomla administrator, go to System → Install → Extensions and open the Install from Web tab. Type ConveyThis in the search field and click the ConveyThis result.
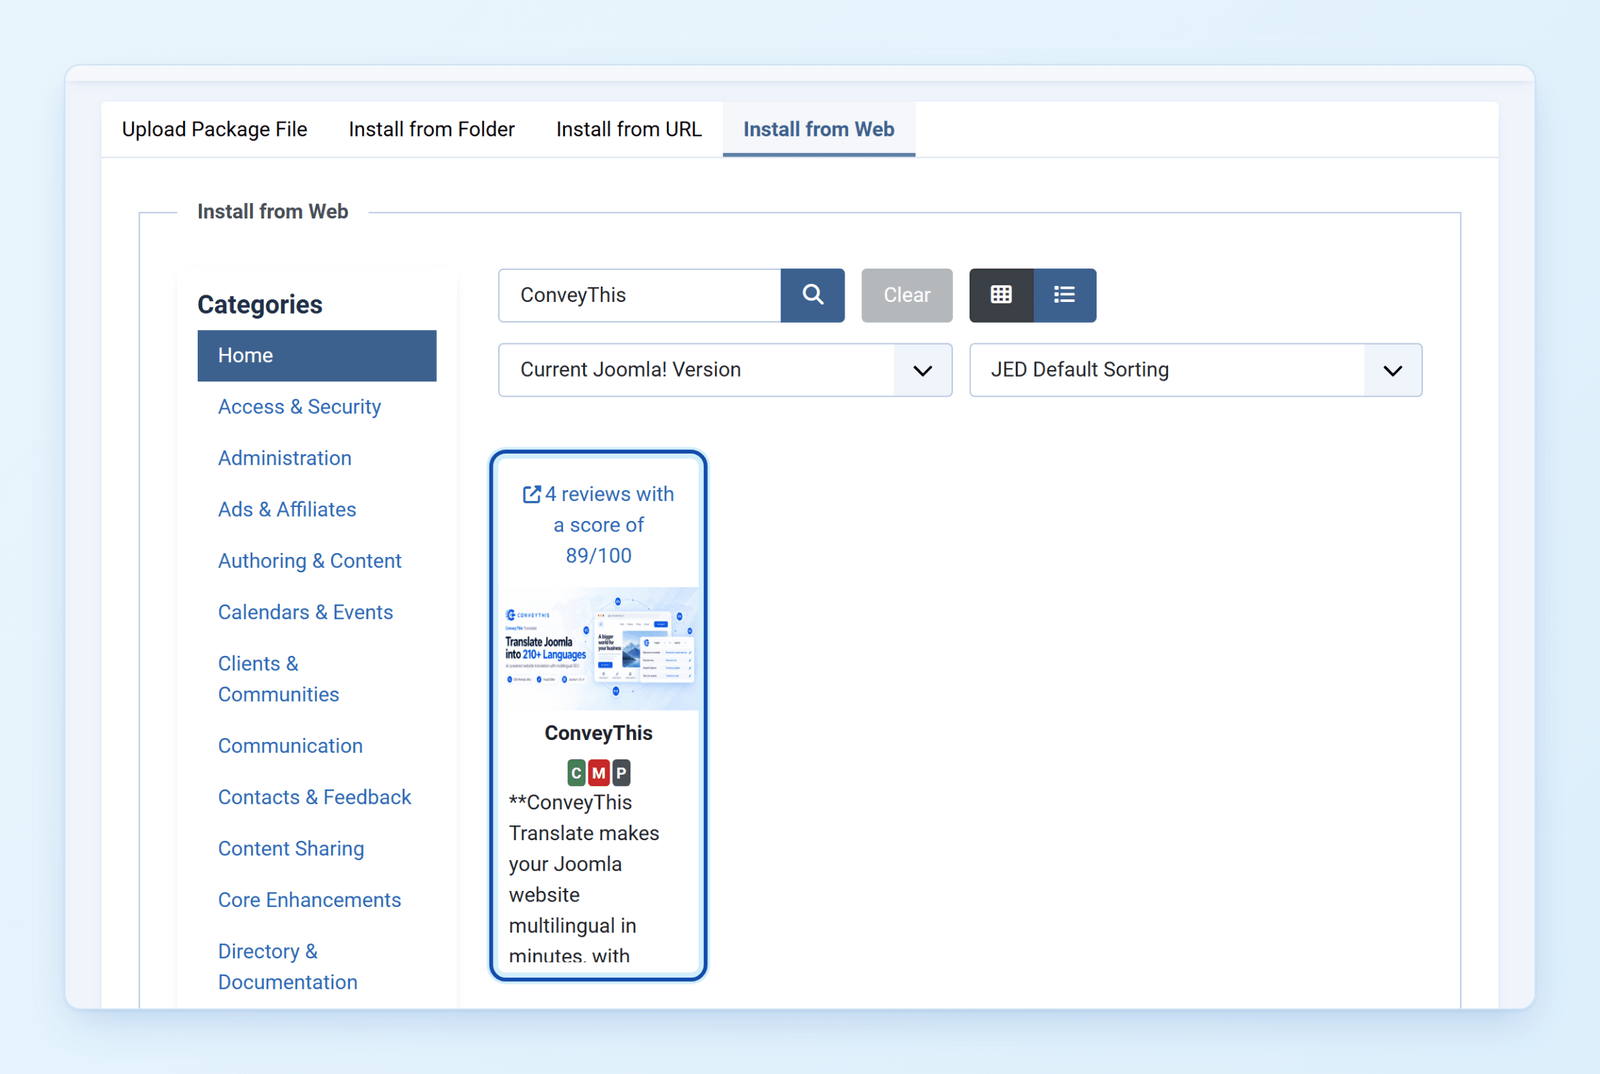
Click Install, then confirm on the next screen.
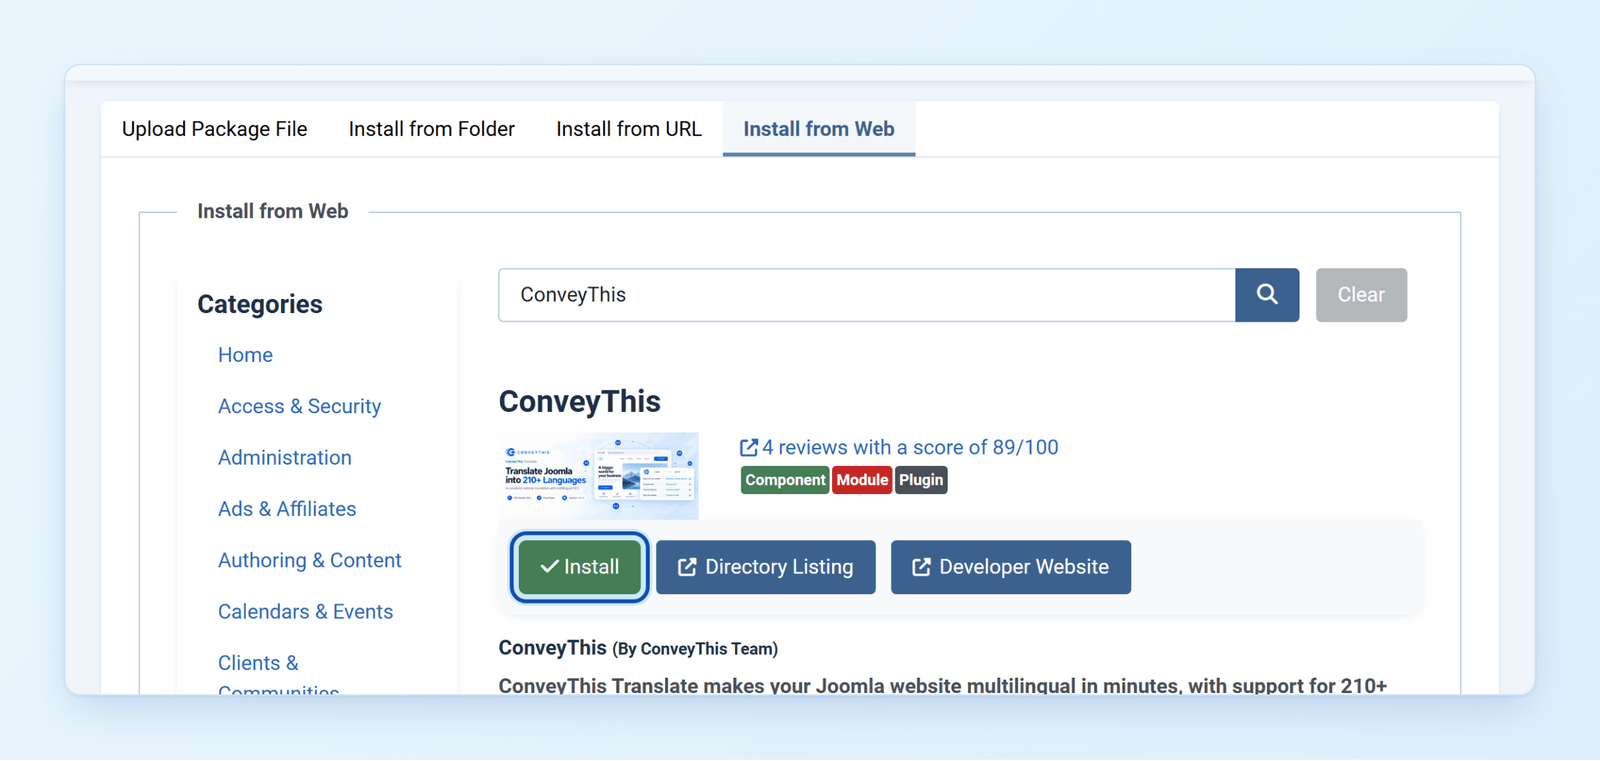
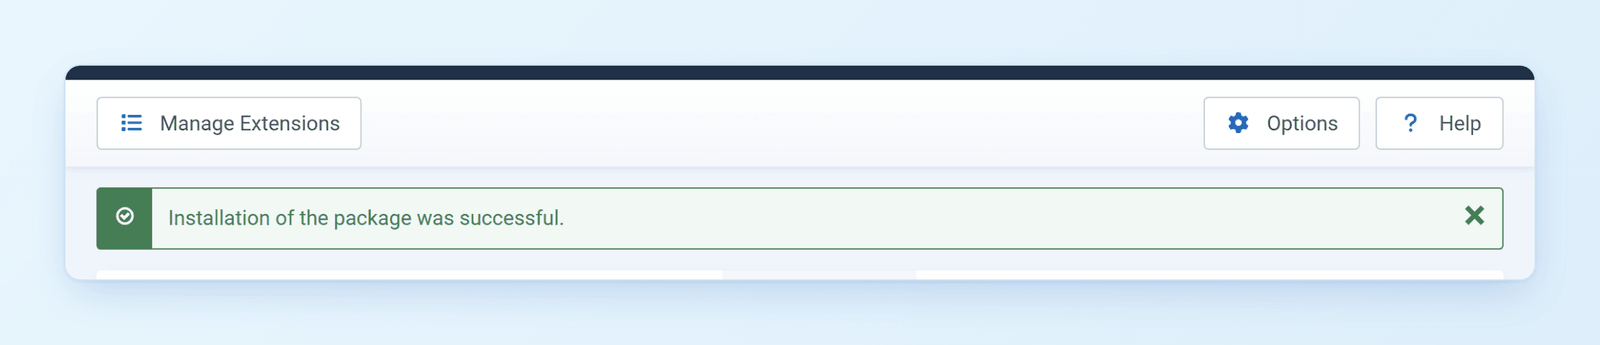
When Joomla shows Installation of the package was successful, the extension is ready.
Prefer to upload the file yourself? Download conveythis.zip and drop it into the Upload Package File tab on the same page.
2) Open ConveyThis in Joomla
Go to Components → ConveyThis.
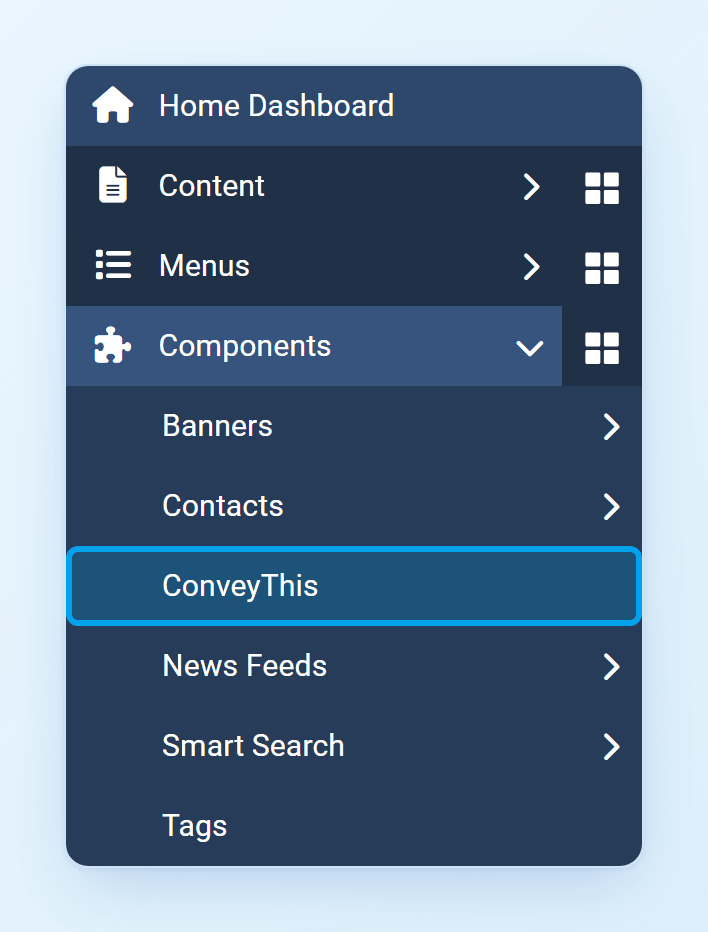
The first time you open it, ConveyThis shows a short setup: create an account, paste your API key, confirm your languages.
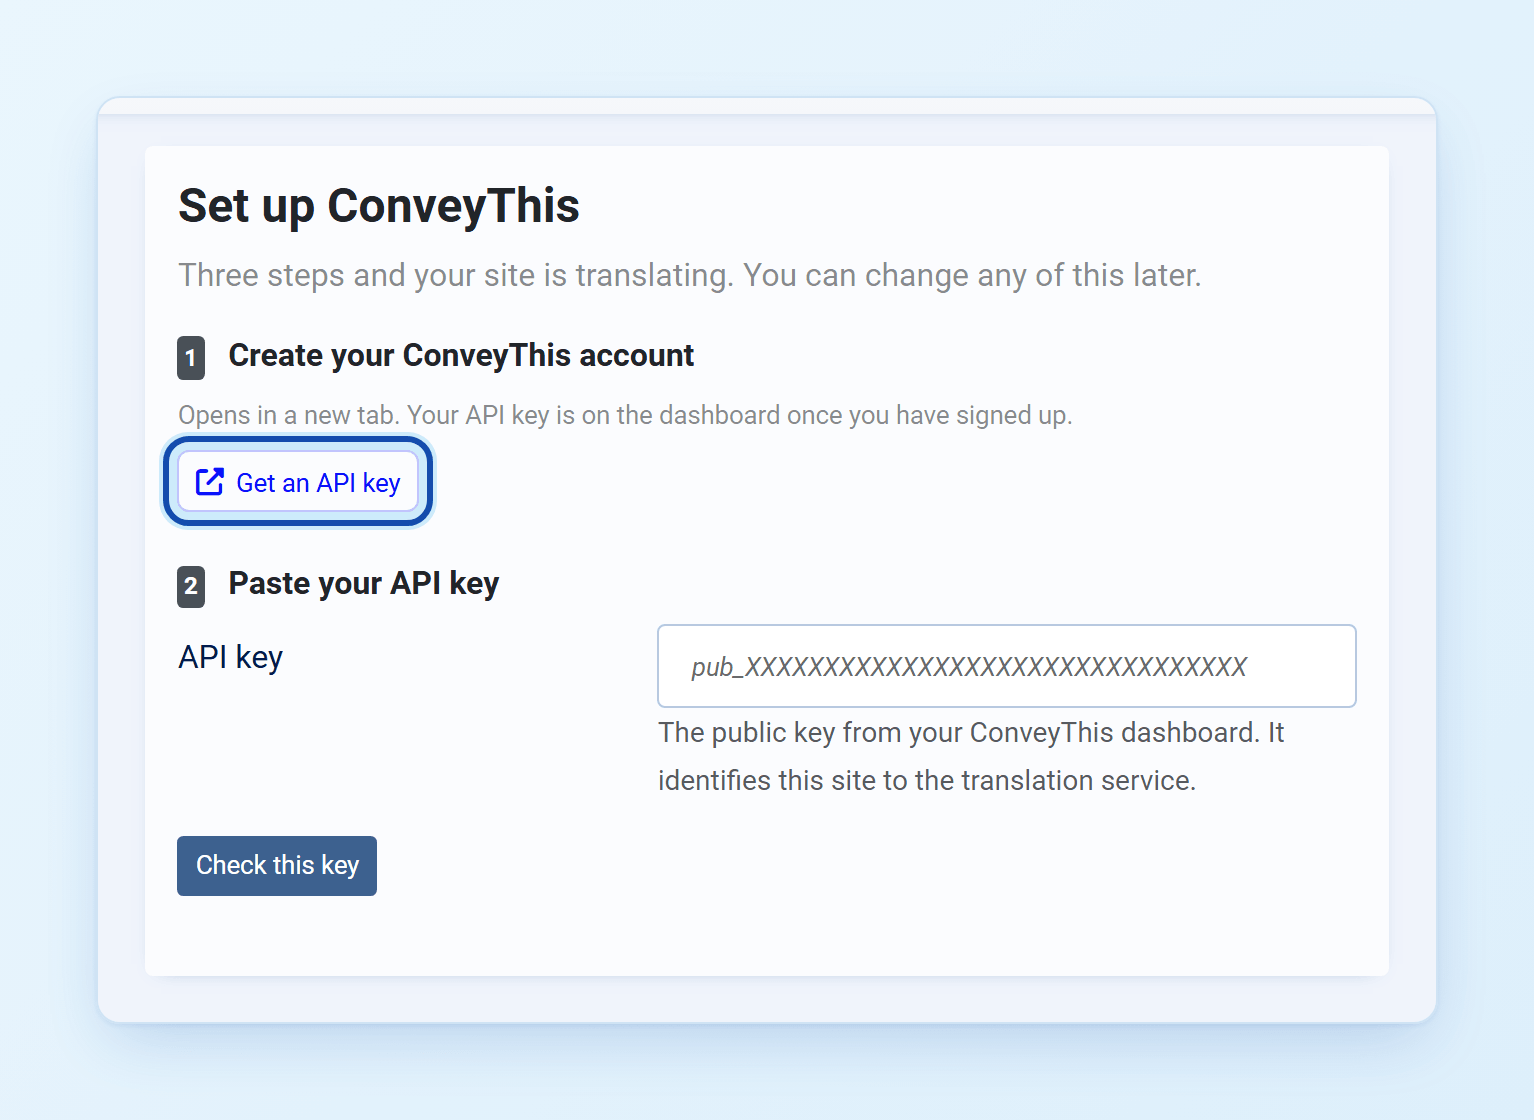
3) Create your free ConveyThis account
Click Get an API key. The ConveyThis sign-up page opens in a new tab. Create your account (no credit card required) and confirm your email address.
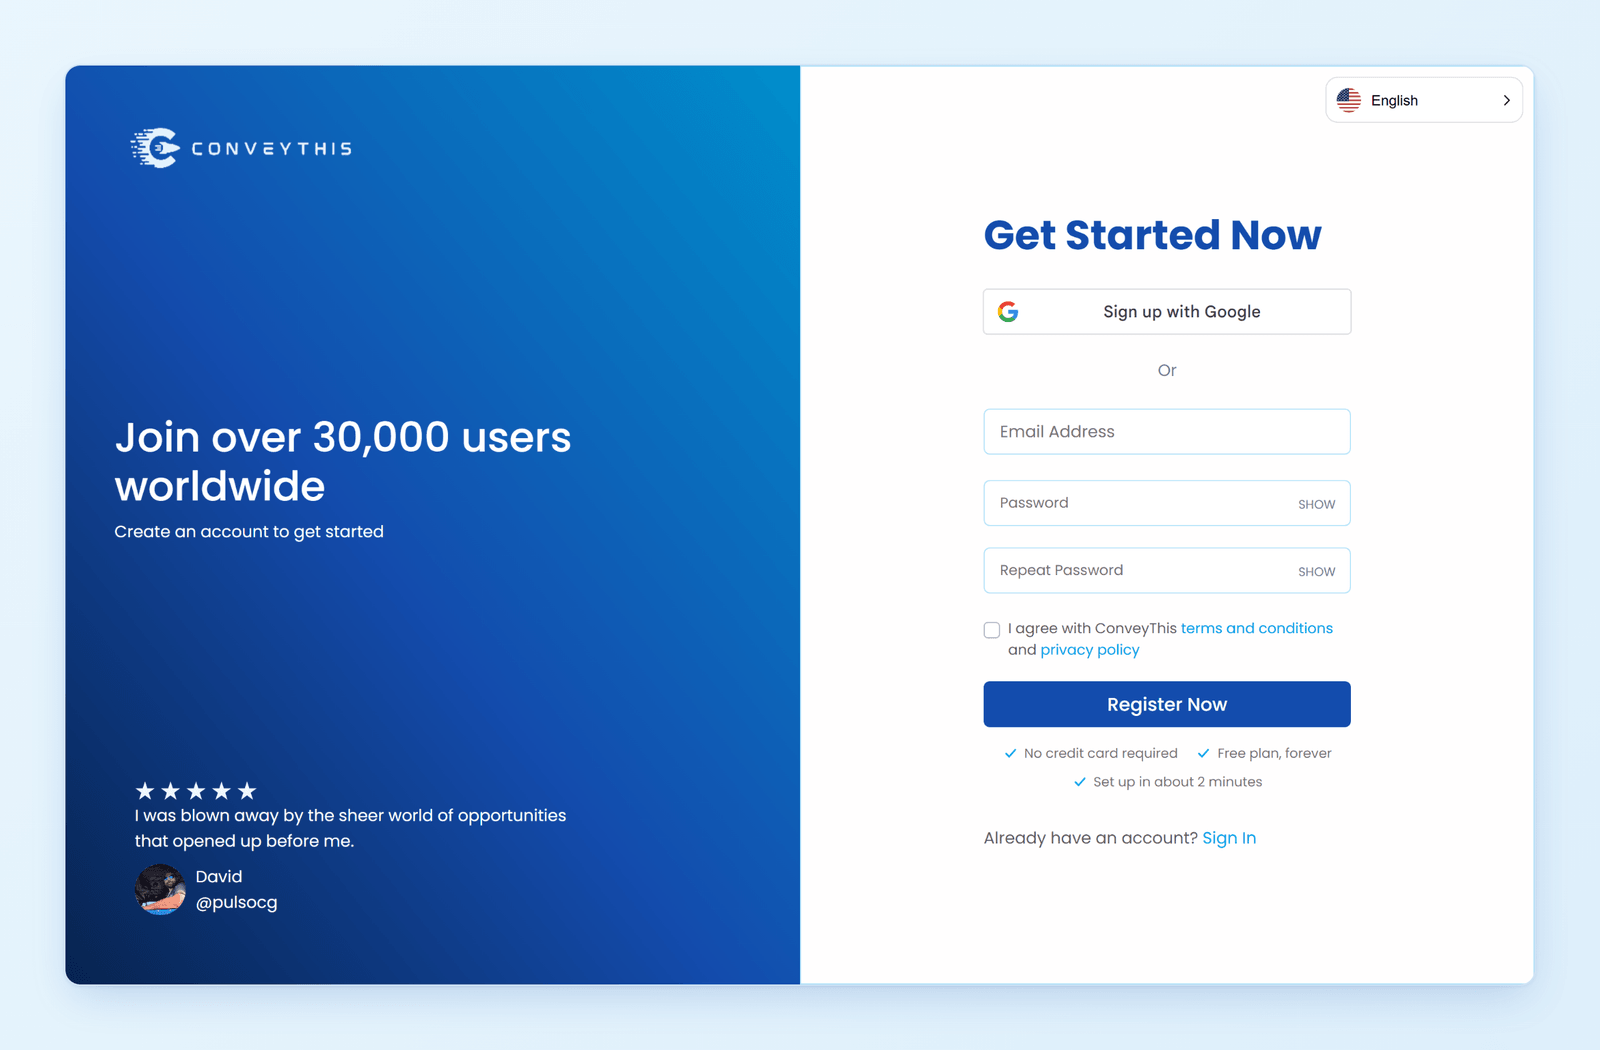
Then follow the short setup: select Joomla as your website technology if asked, confirm your domain, choose the language your site is written in and the languages you want to add. Your API key is shown on the dashboard once setup is done. It looks like pub_xxxxxxxxxxxxxxxx.
4) Paste your API key and start translating
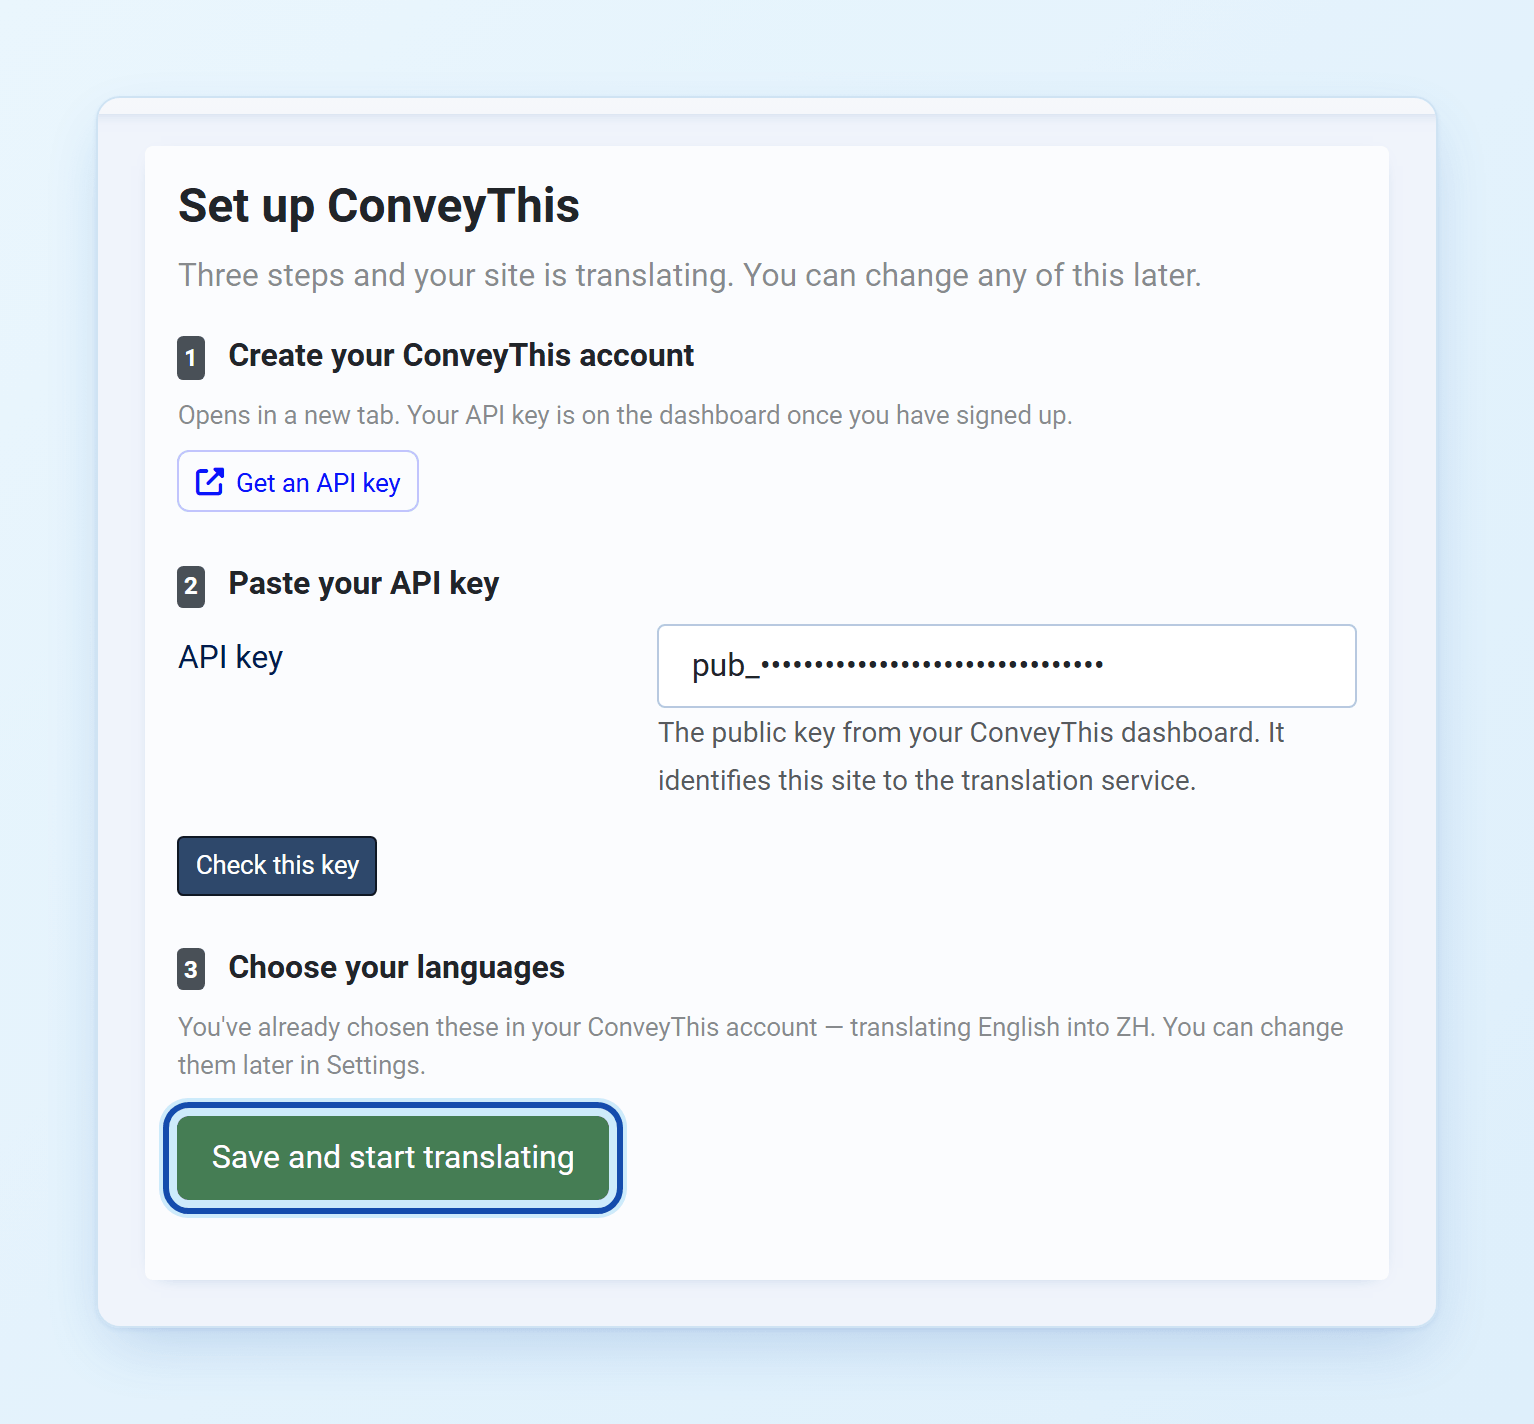
Go back to the Joomla tab, paste the API key and click Check this key. ConveyThis fills in the languages you picked in your account, so you don’t have to choose them twice. Click Save and start translating.
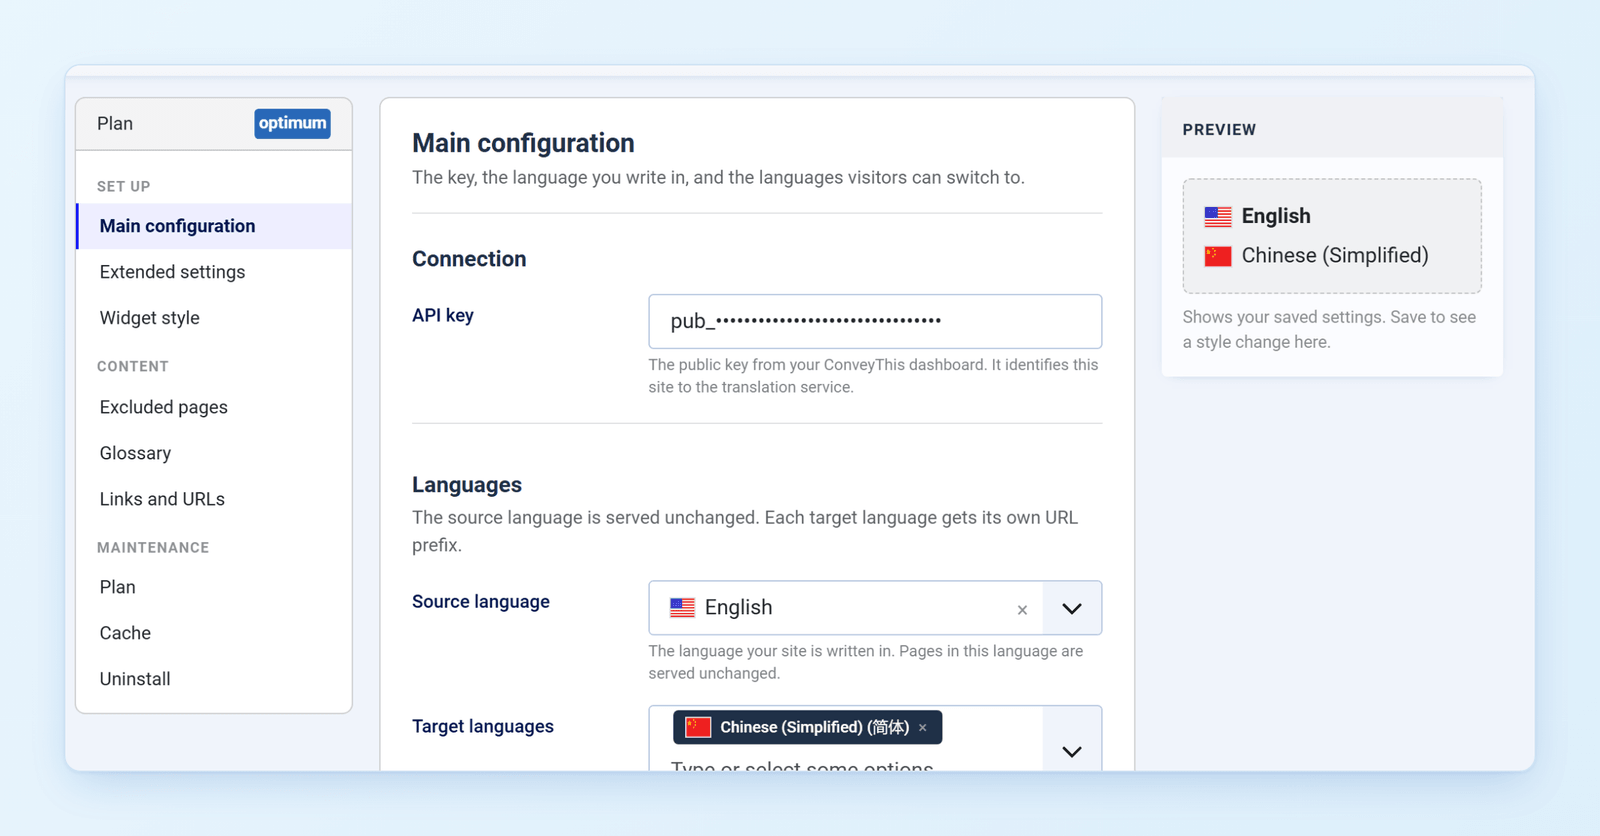
You land on the ConveyThis settings. You can change the languages here at any time, and style the language switcher under Widget style.
5) Enable “URL Rewriting” in Global Configuration
Each language gets its own URL, such as /es/about. For those URLs to work, go to System → Global Configuration, and in the SEO section set Use URL Rewriting to Yes, then click Save. Without it, translated pages can return a 404 error.
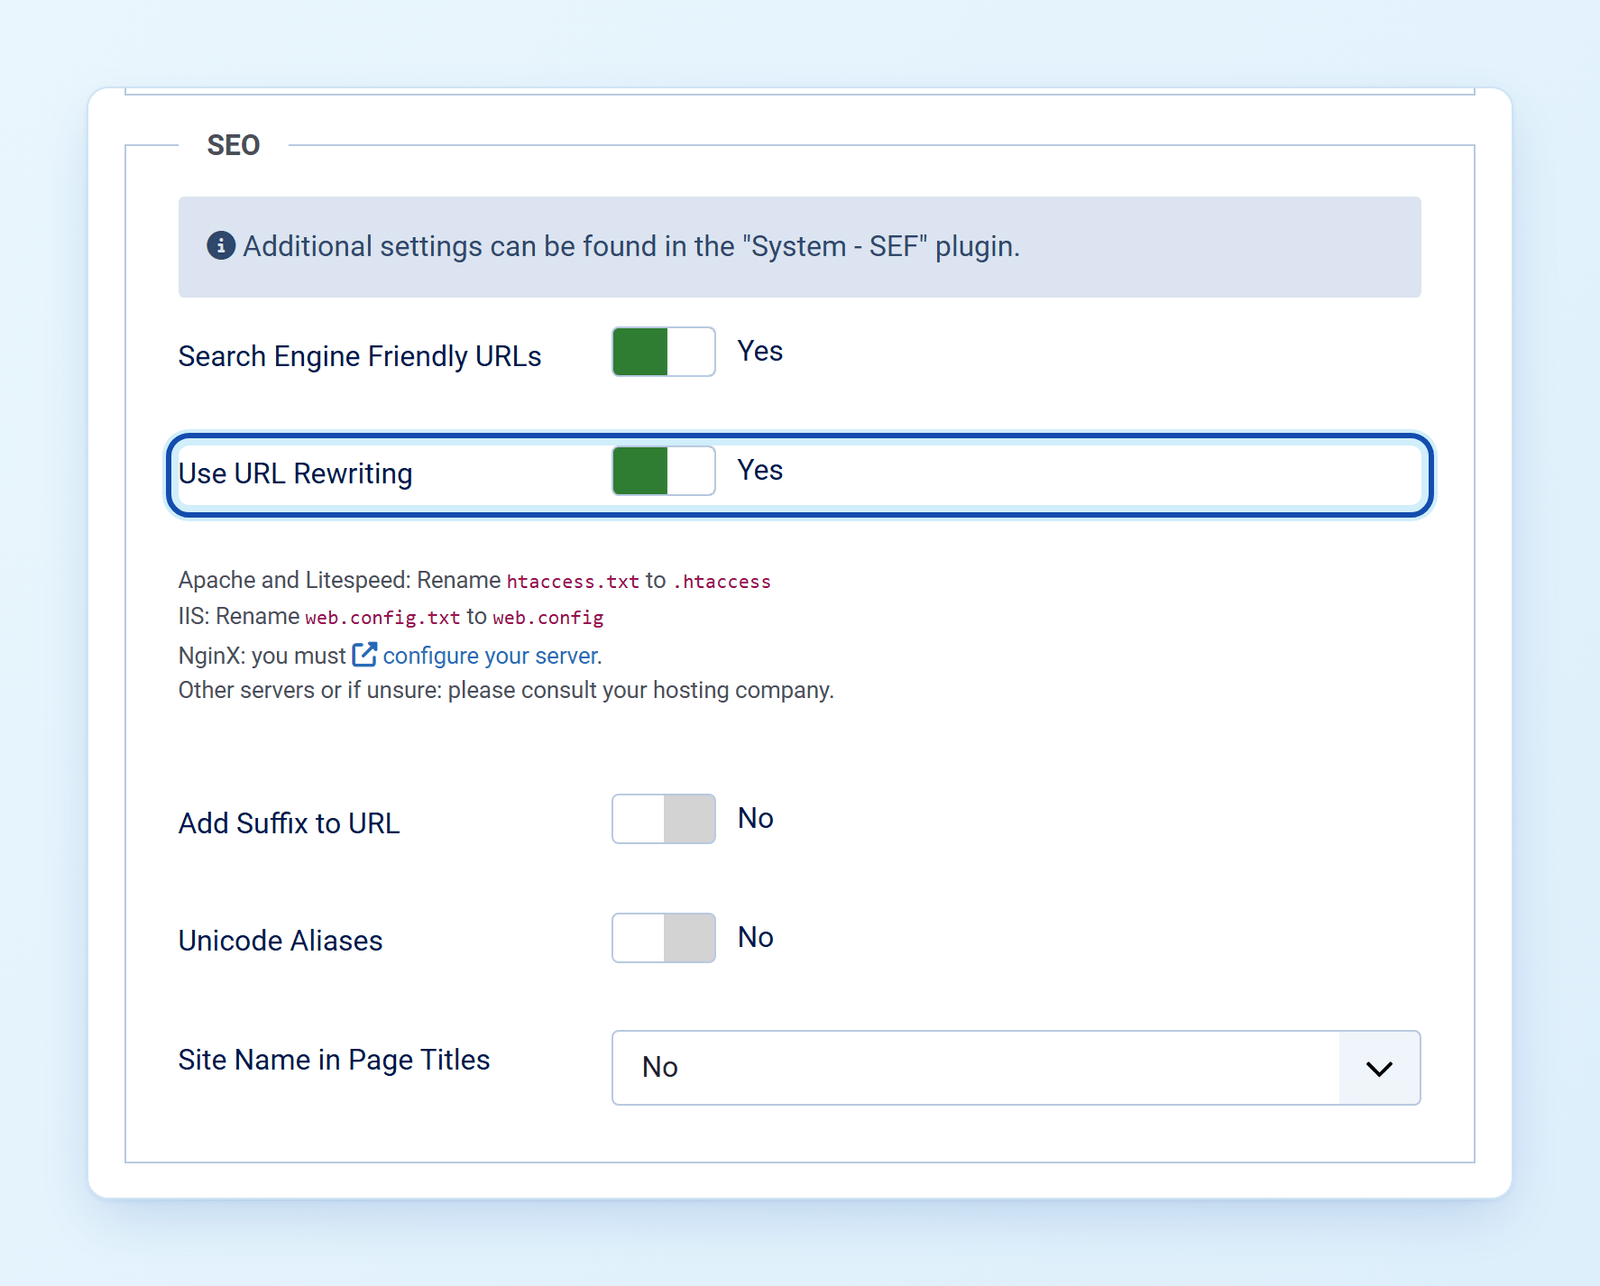
Depending on your hosting:
- Apache and LiteSpeed: rename
htaccess.txtto.htaccessin your Joomla root folder. - IIS: rename
web.config.txttoweb.config. - NGINX: you must configure your server.
- Other servers or if unsure: please consult your hosting company.
Using Joomla’s own Language Filter? Turn it off. Joomla’s Language Filter plugin uses the same language prefixes in the URL (/es/), and the two will conflict. ConveyThis detects it and offers to disable it for you.
6) You’re all done!
That’s it. Open your website: the language switcher appears in the bottom-right corner. It can take a minute or two to show up the first time.
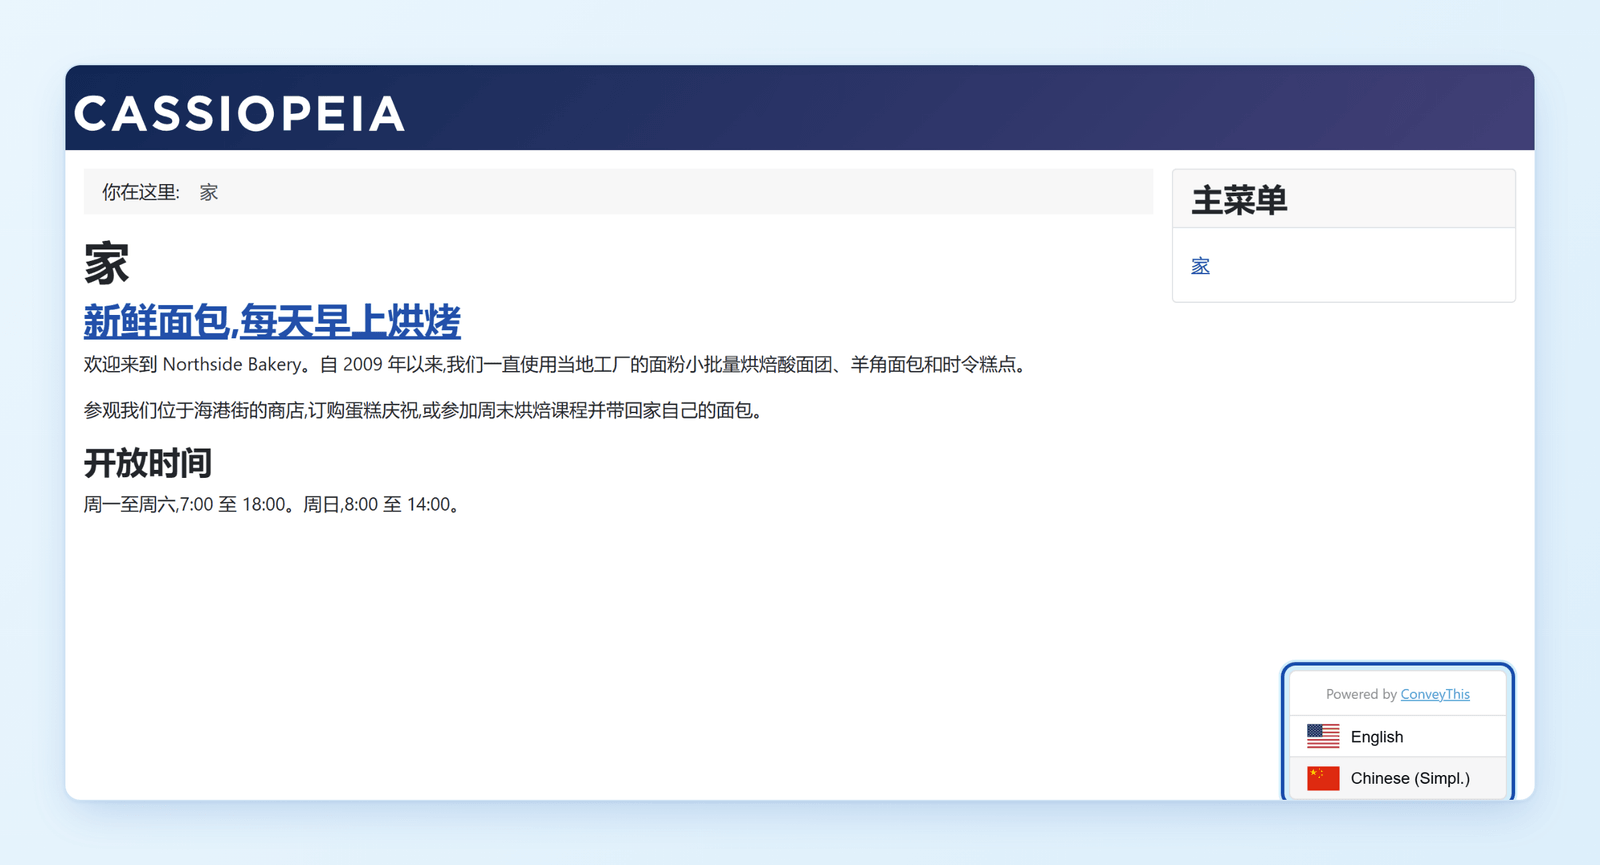
Switch the language, and your website is multilingual. To review or edit translations, open My Translations in your ConveyThis dashboard, or use the visual editor to edit them right on your pages.
Congratulations, now you can start translating your website!