
How do I add ConveyThis to WordPress?
Install the free ConveyThis plugin, connect it to your ConveyThis account and choose your languages. It takes a few minutes and needs no code.
Step 1. Install the plugin
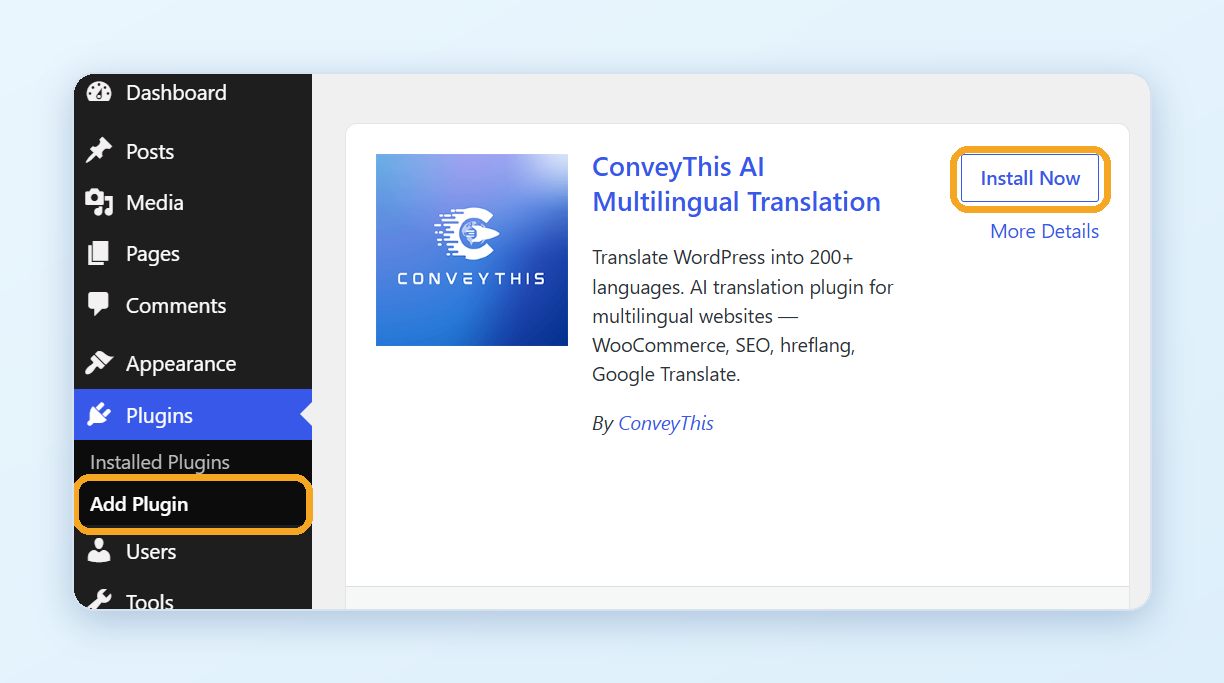
- In your WordPress admin, go to Plugins → Add Plugin.
- Search for ConveyThis, click Install Now, then Activate.
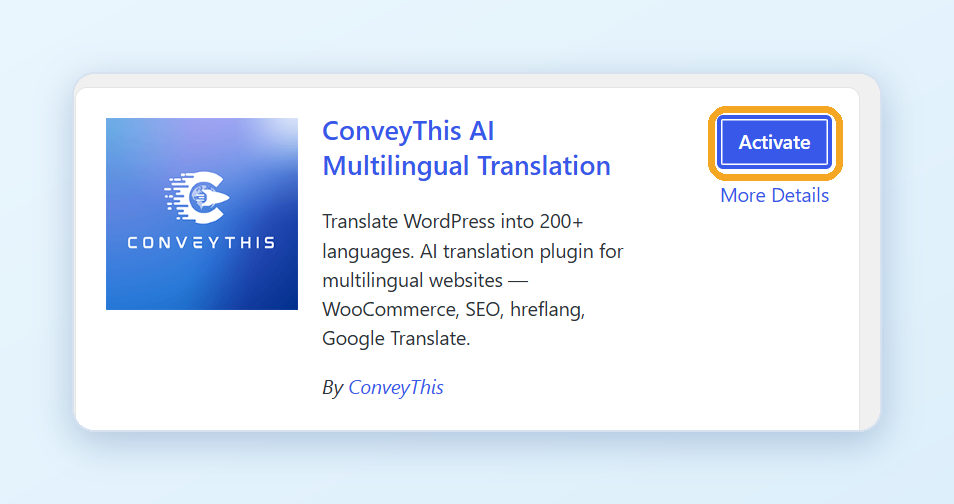
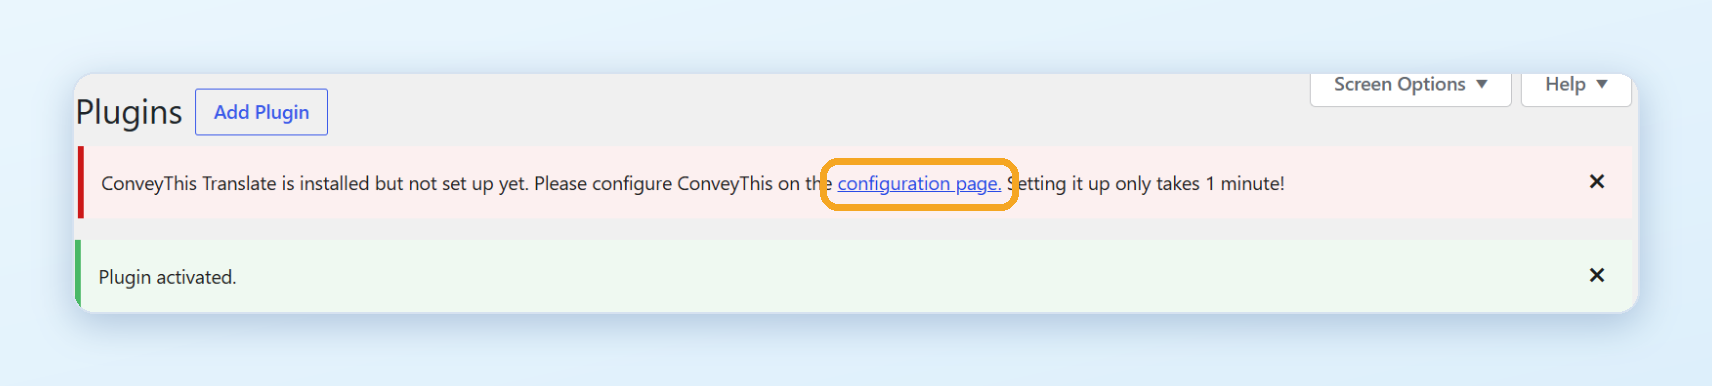
- WordPress shows Plugin activated and a note that ConveyThis is not set up yet. Click configuration page in the note, or ConveyThis in the WordPress menu, to open the plugin.
Step 2. Get your API key
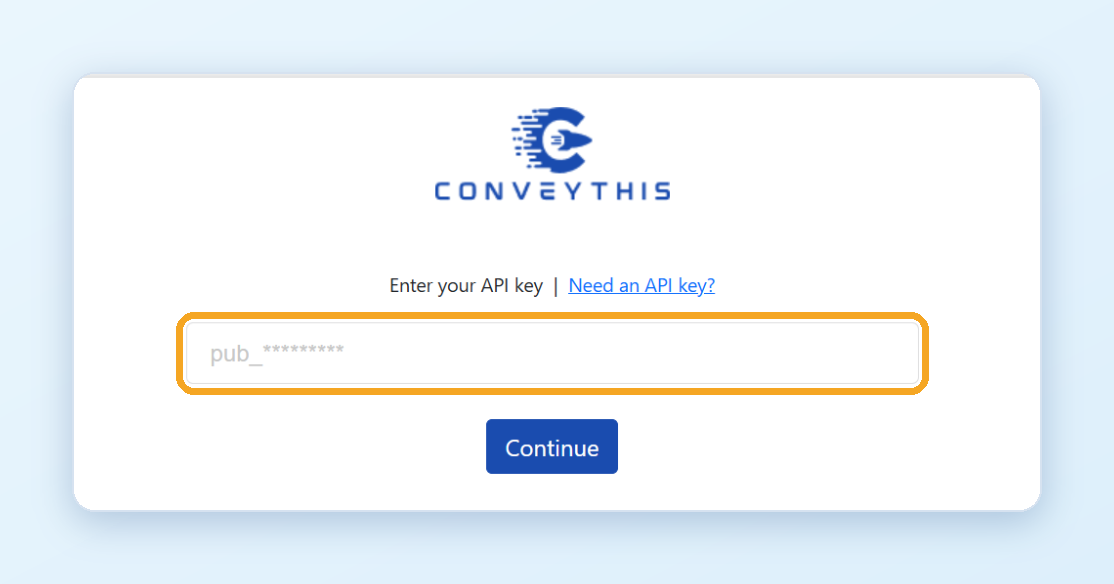
The plugin asks for your API key.
- Click Need an API key? The ConveyThis setup opens in a new tab, with WordPress and your website address already filled in.
- New to ConveyThis? Create your account with your email address and a password, and confirm your email. Already have an account? Log in.
- Choose your website’s current language and the languages to translate into, and click Next.
- The Install step shows Your API key. Click Copy.
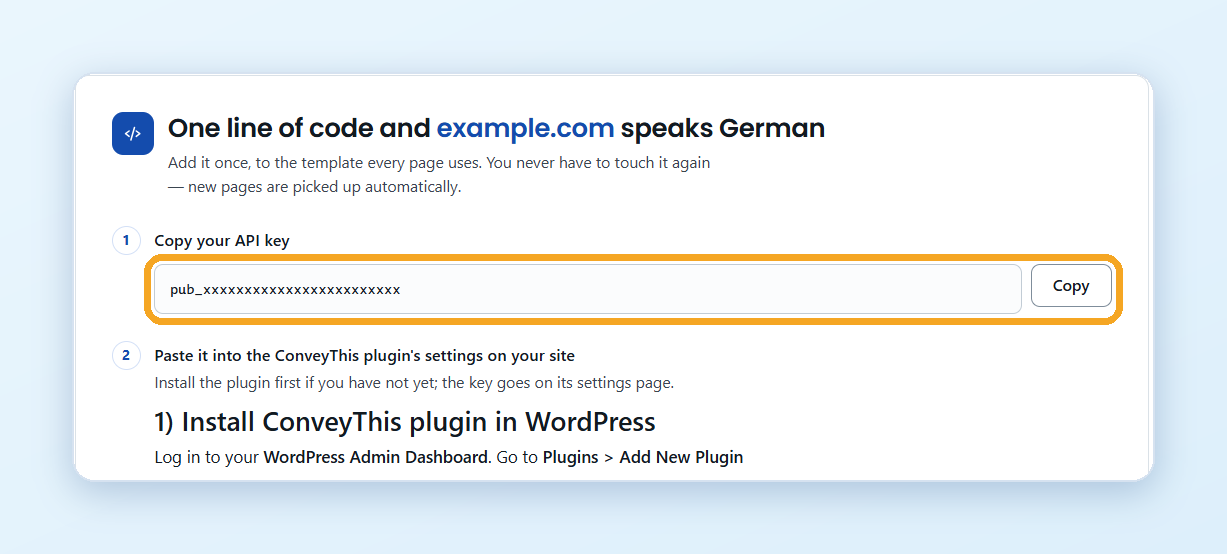
If your website is already in your ConveyThis account, you don’t need the setup: your key is on your ConveyThis dashboard under Public API key.
Step 3. Connect the plugin
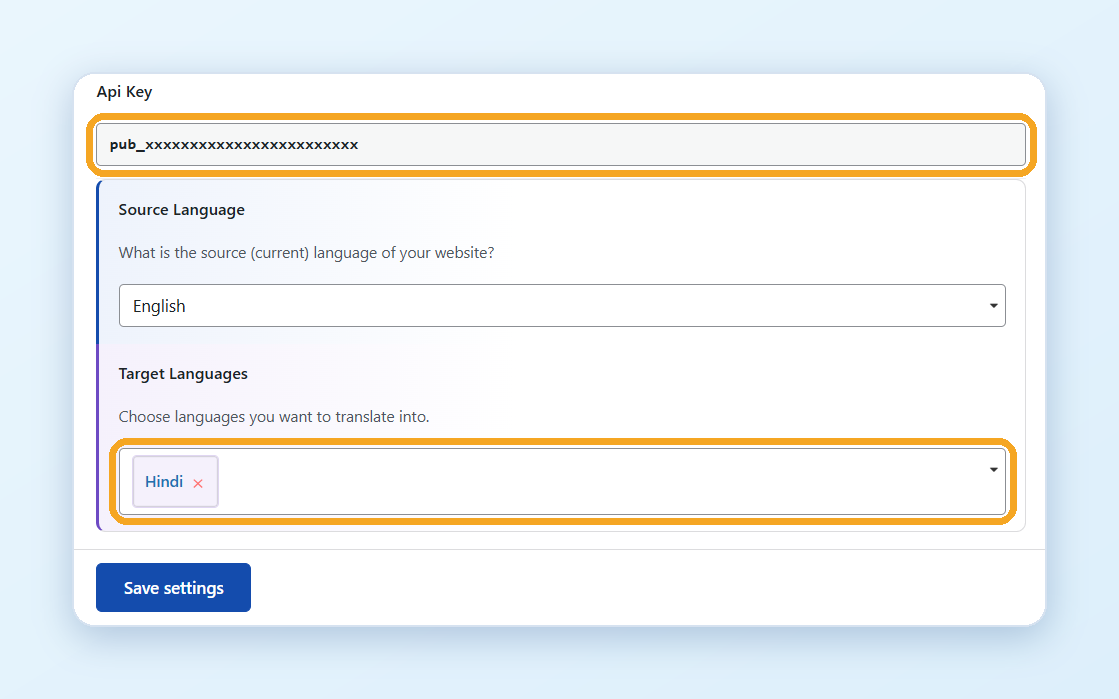
- Go back to the WordPress tab, paste the key (it starts with
pub_) and click Continue. - The plugin checks the key and takes your languages from your ConveyThis account. When you see Your website is multilingual now!, you’re done.
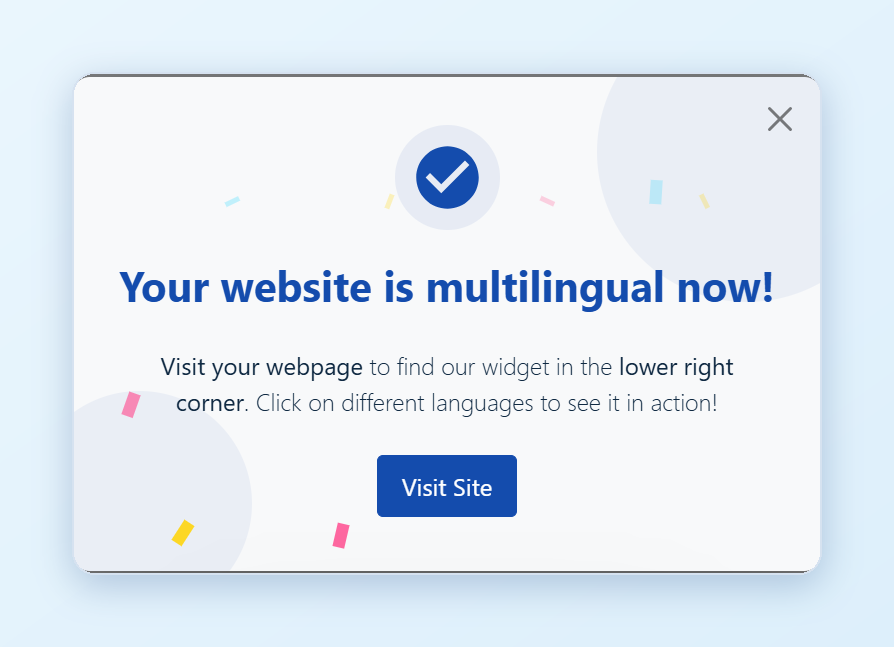
If the plugin says We couldn’t verify your API key, your website isn’t in your ConveyThis account yet. Click Complete the setup, finish the steps there and try again.
You can change your API key and languages later on the Main configuration tab of the plugin. Click Save settings after a change.
Step 4. Check your website
Open your website. The language switcher appears in the bottom right corner. Choose a language to see your translated website.
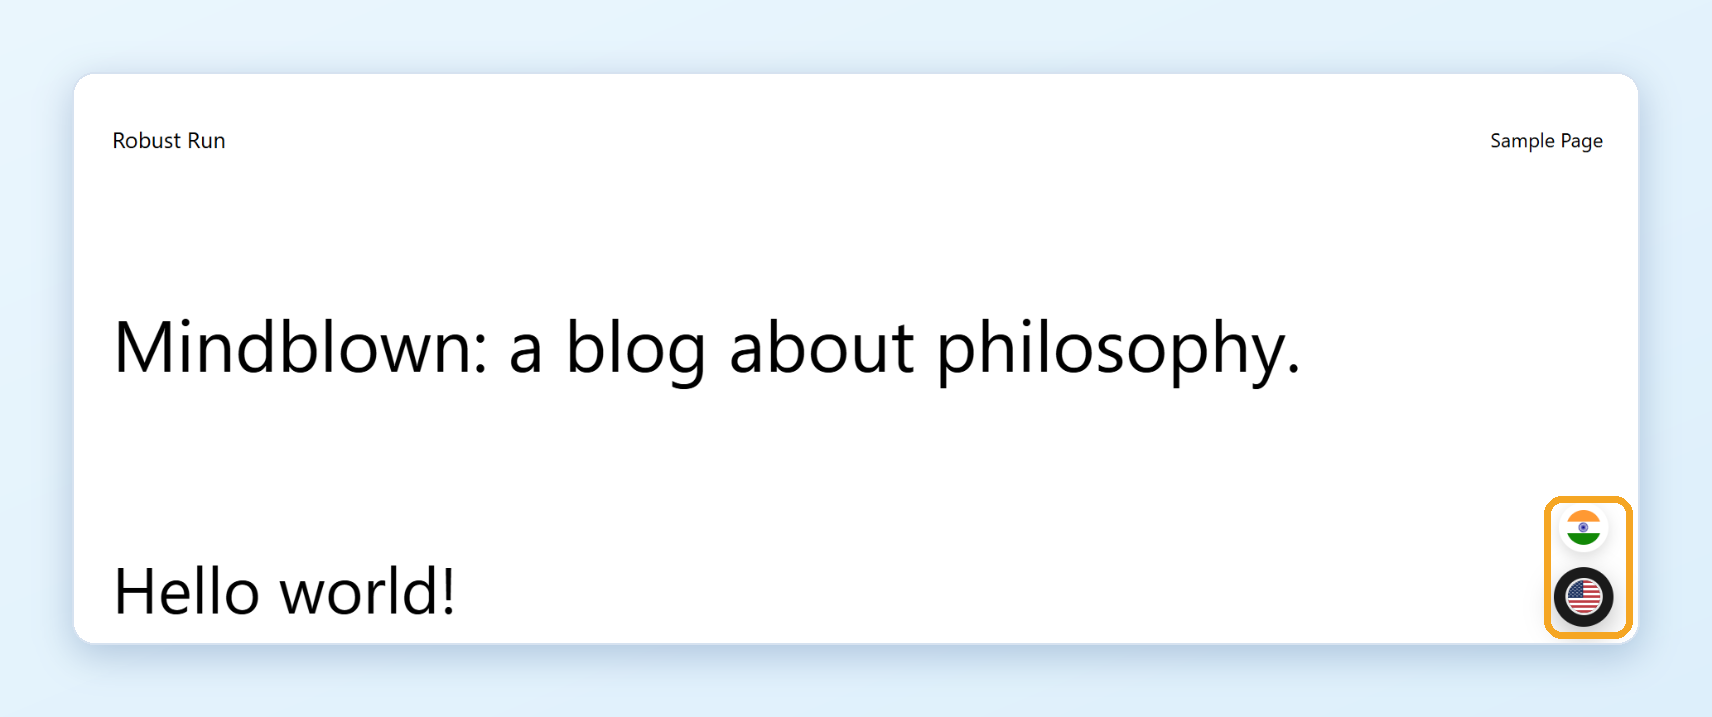
If you don’t see the switcher, clear the cache of your caching plugin or hosting and reload the page.
What’s next?
All other settings are in the plugin, under ConveyThis in the WordPress menu: the look and position of the language switcher, excluded pages and elements, the Glossary and the URL structure. To edit translations, use your ConveyThis dashboard. See How do I edit my translations?
Your translation plan is in your ConveyThis account. You start on the Free plan, and you can upgrade at any time.