ConveyThis WordPress Integration: Setup Guide
How to Integrate ConveyThis into Your WordPress Website
Making your website multilingual with ConveyThis is quick and easy! Follow this simple step-by-step guide to install and set up the plugin on WordPress in just a few minutes.
Step 1: Install the ConveyThis Plugin
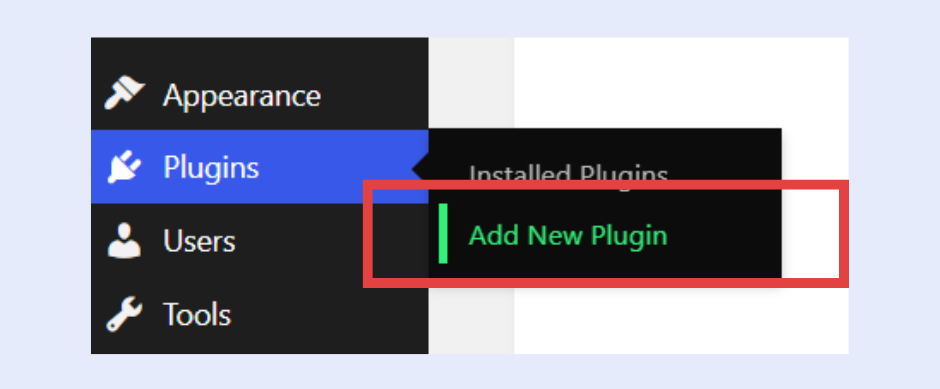
Log in to your WordPress Admin Dashboard. Go to Plugins → Add New Plugin
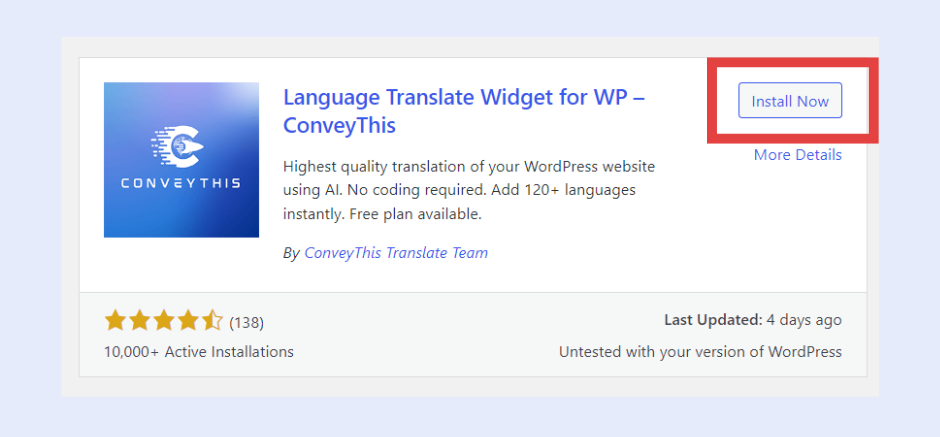
In the search bar, type “ConveyThis”. When the plugin appears, click Install Now, then Activate
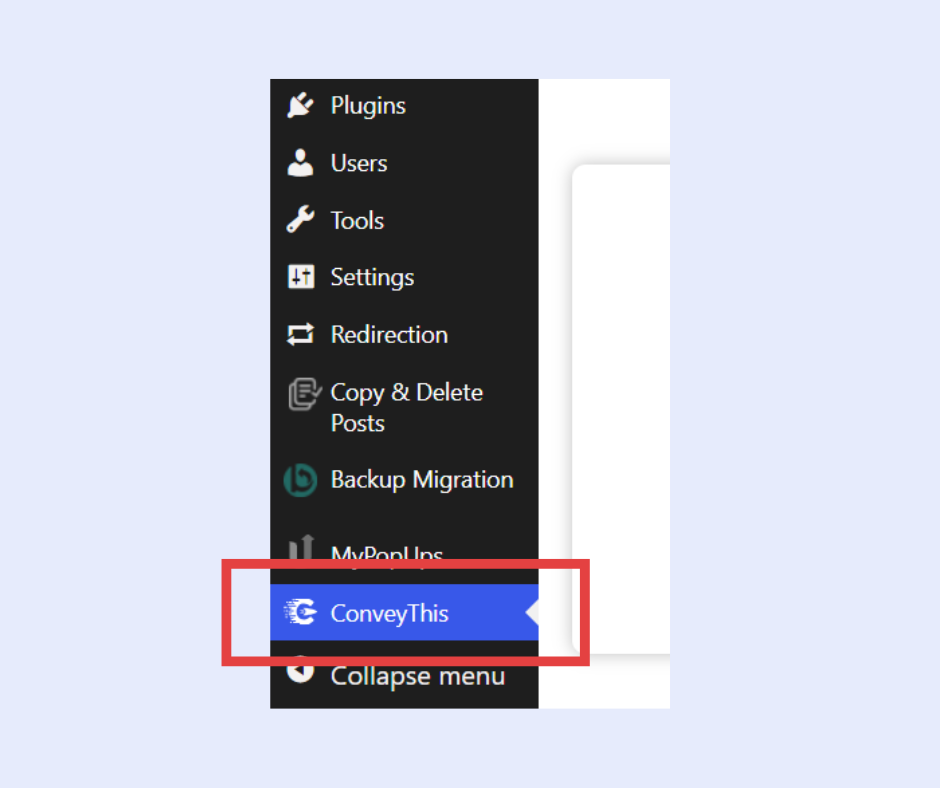
The plugin is now installed but not yet configured. Go to your ConveyThis Plugin
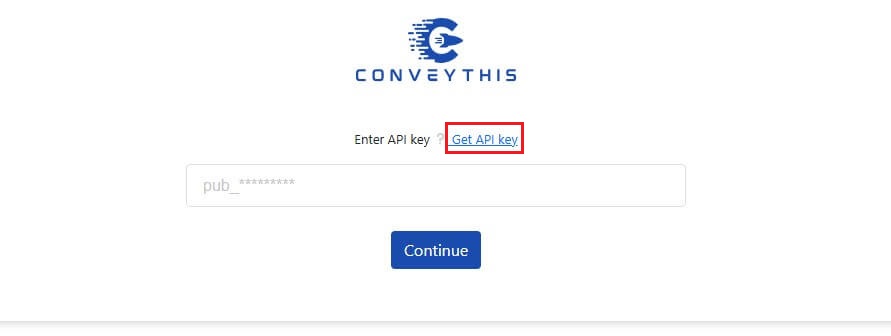
Click Get API Key to register on ConveyThis and obtain your API key
Step 2: Create Your ConveyThis Account
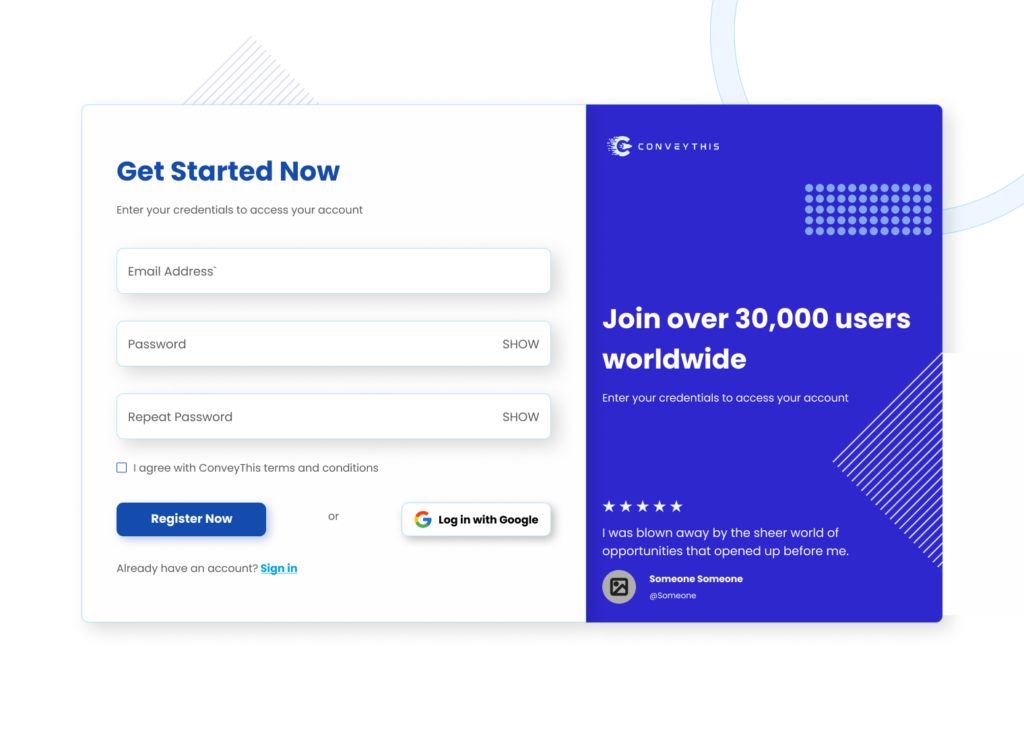
On the ConveyThis registration page, create your account. Confirm your email address by clicking the verification link sent to your inbox.
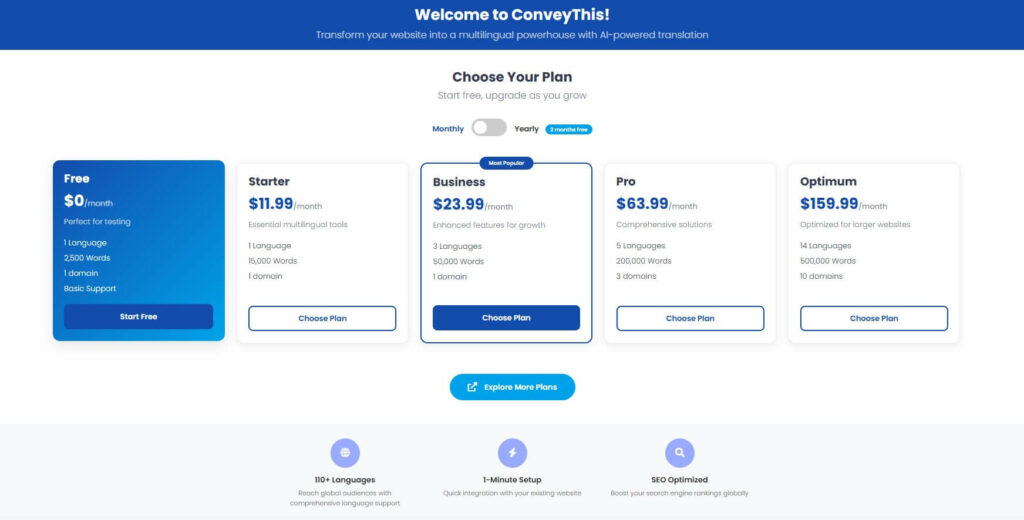
Select your plan to proceed. New domains automatically start with a Free 3-day Pro trial. After choosing your plan, complete your settings
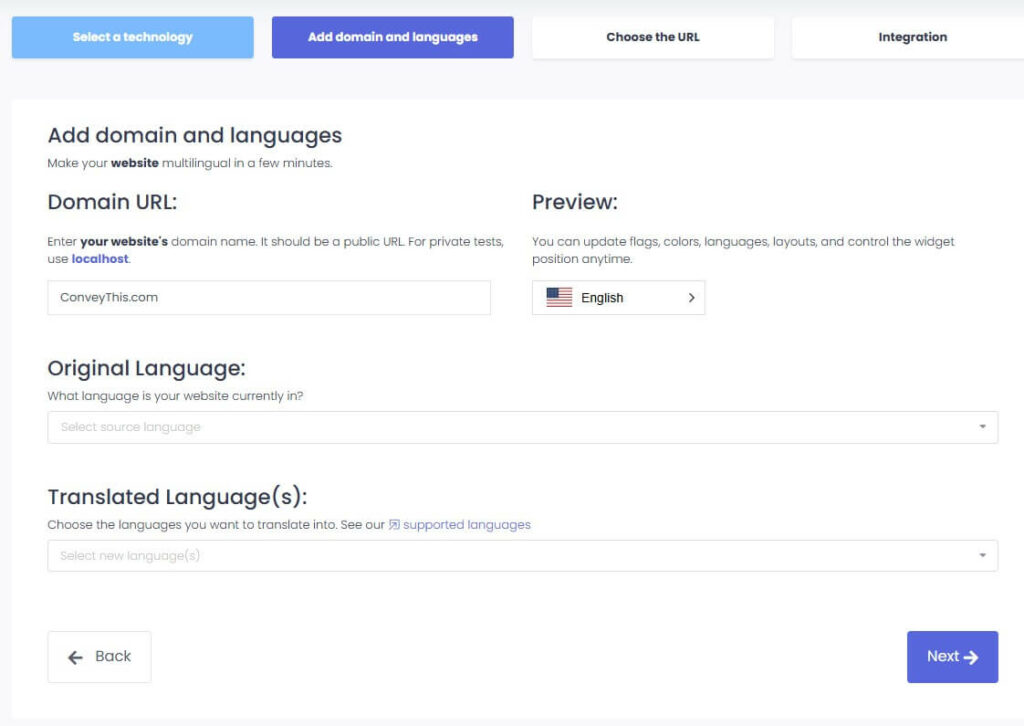
Step 3. Link Your Website to ConveyThis
Enter your domain name and select the languages you want to translate your website into
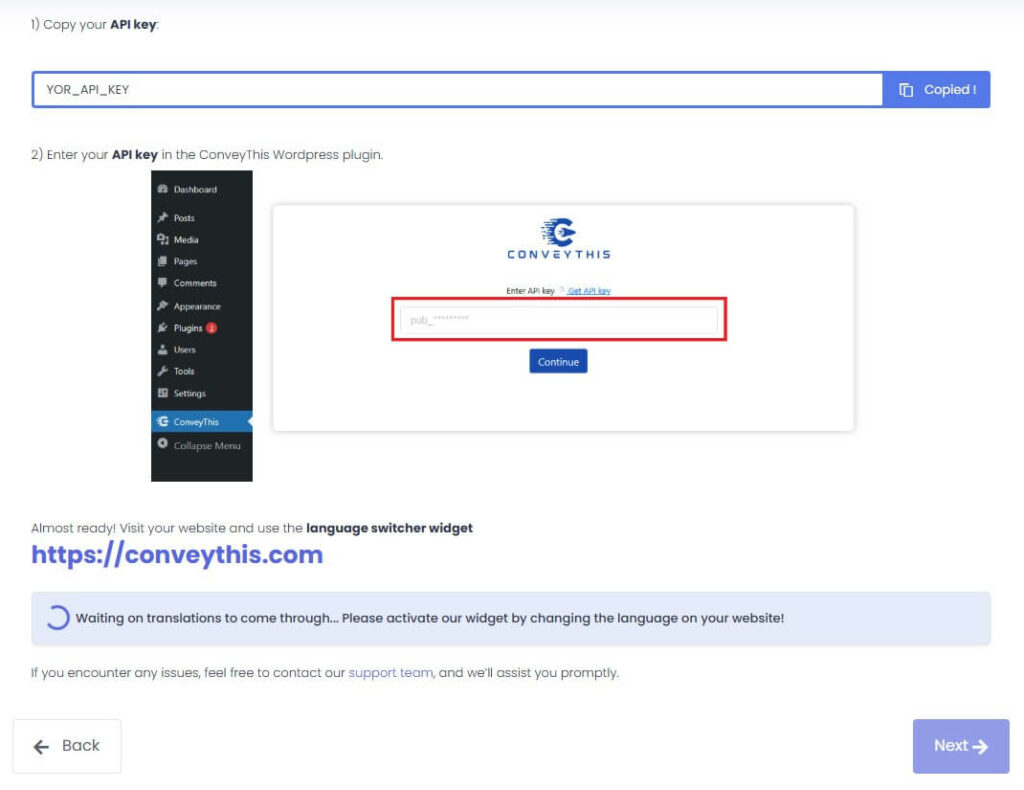
Copy your API key and paste it into your WordPress ConveyThis plugin settings. Press Continue
You’re all done!
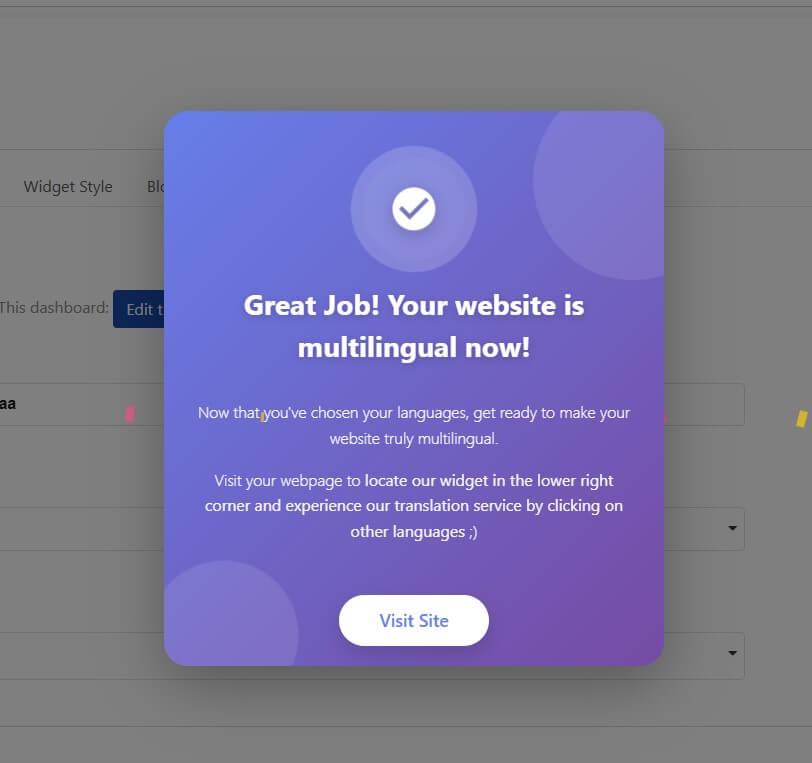
That’s it! 🎉
Visit your website and you’ll see the language switcher button at the bottom right corner.
It may take a few minutes to appear, so don’t worry if it doesn’t show up right away.
Once it’s visible, try switching languages — and like magic, your website is now multilingual!
*If you want to customize the widget or get familiar with an additional settings, please go to your WordPress ConveyThis Plugin.