
How do I add ConveyThis to Jimdo?
You add ConveyThis to Jimdo with one short piece of code. It takes about five minutes, and you only do it once: new pages are translated automatically.
Step 1. Add your website in ConveyThis
- Log in to your ConveyThis dashboard and click Add Domain. If you just signed up, this setup opens by itself. No account yet? Create one for free.
- Under Website platform, choose Jimdo and click Next.
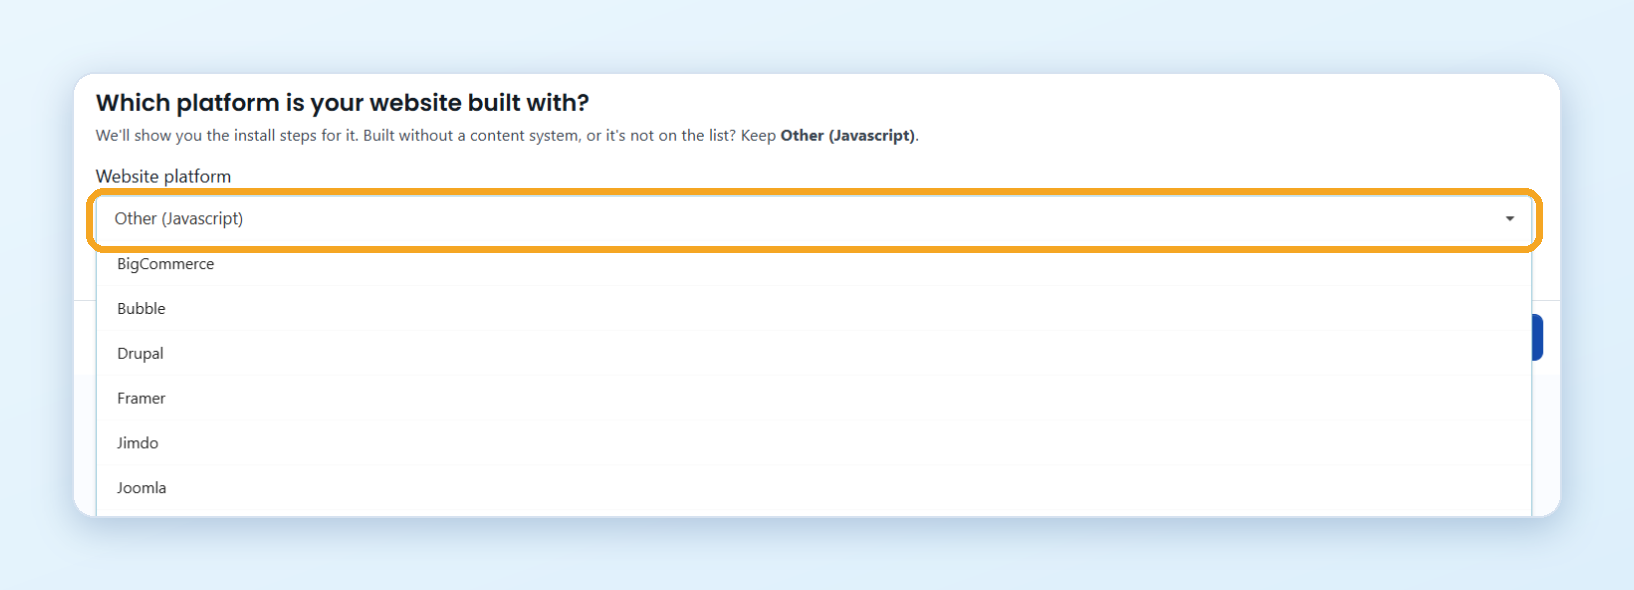
- Enter your Website domain (for example
example.com), your website’s current language and the Languages to translate into. Click Next. - Choose how the addresses of your translated pages look. If you’re not sure, keep the default. You can change it later, see Customize your URLs. Click Next.
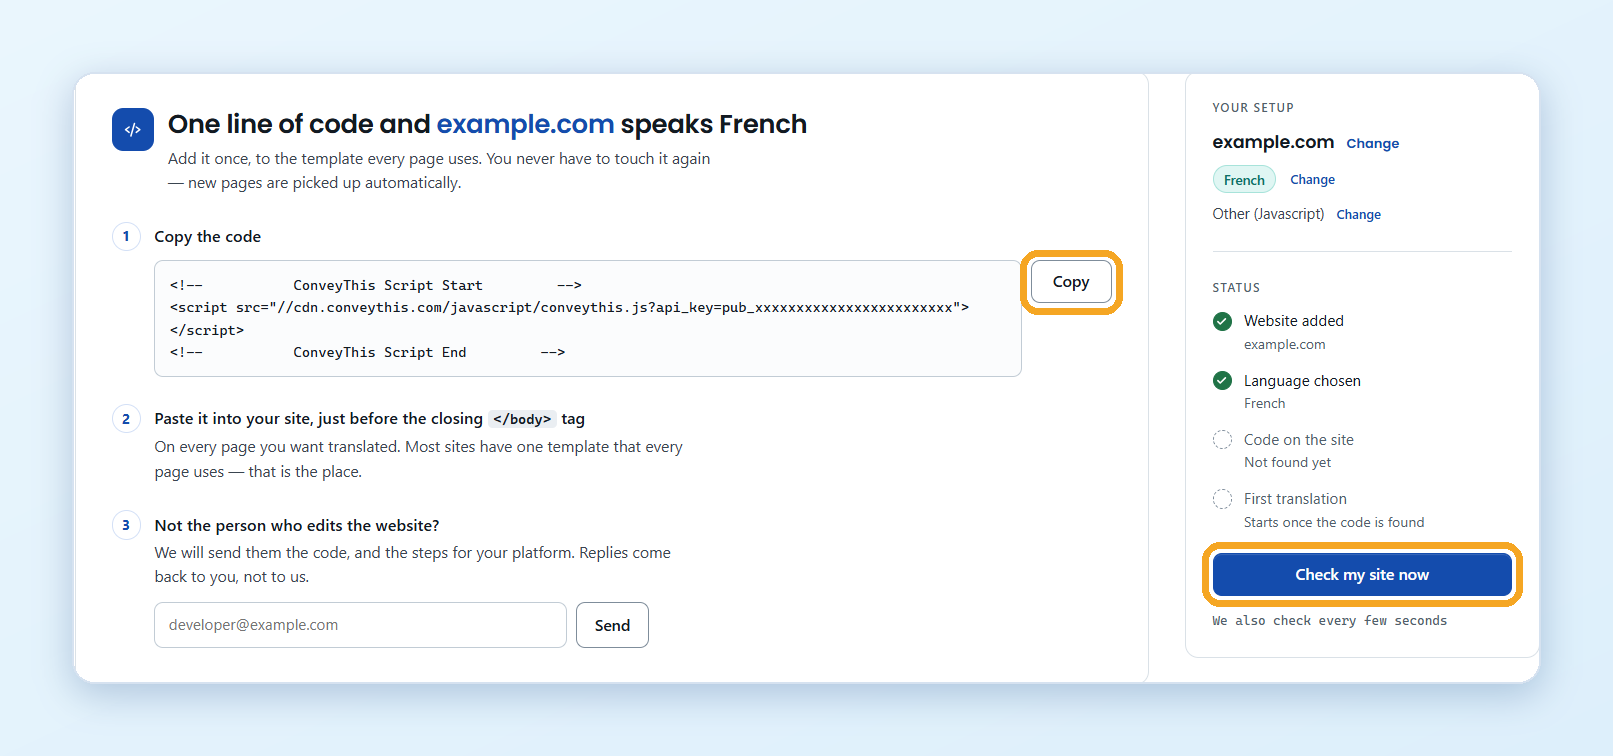
- On the Install step, click Copy next to the code.
Step 2. Add the code to Jimdo
- Log in to Jimdo and open the editor of your website.
- Go to Settings, then Edit Head.
- Paste the code into the field and click Save.
Step 3. Check that it works
- Go back to the ConveyThis setup and click Check my site now. ConveyThis also checks every few seconds. When Code on the site shows that the code was found, translation starts.
- Open your website. The language switcher appears in the bottom right corner. Choose a language to see your translated page.
It can take a few minutes the first time. If you don’t see the switcher, clear your website’s cache and your browser cache, then reload the page.
Not the person who edits the website? On the Install step, enter your developer’s email and click Send. They get the code and the steps for your platform.
Good to know
- To change the switcher’s look or position, go to Domains and open Settings on your website. See Change the switcher position.
- To edit translations, see How do I edit my translations?
- Translations don’t appear? See Translations are not displayed.